
Deciding whether you should curl your eyelashes before or after applying mascara is a classic debate in the beauty community. While many people reach for their tools in a specific order out of habit, understanding the mechanics behind lash health and product performance can significantly improve your results.
If you have ever wondered if you curl eyelashes before or after mascara, the short answer is almost always before, as this protects the integrity of your lashes and prevents unwanted damage. Getting the order right ensures a long-lasting, fanned-out effect without the risk of accidentally pulling out delicate hairs.
The Risks of Curling After Mascara Application
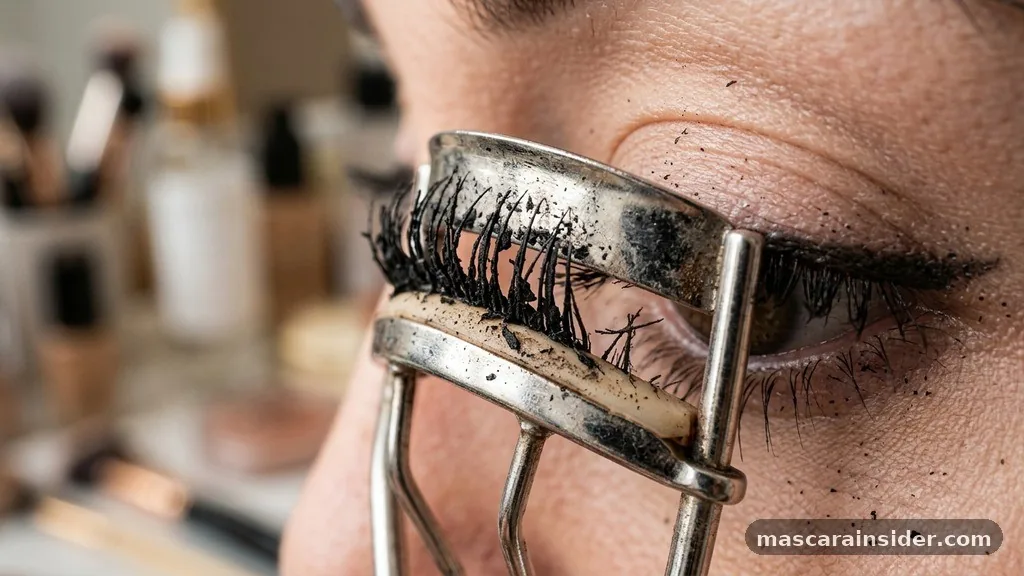
The primary reason experts advise against curling your lashes after applying mascara is the physical reaction between the product and your tools. Mascara is designed to coat and stiffen the hair fiber, which makes it significantly more brittle once it dries or even while it remains tacky.
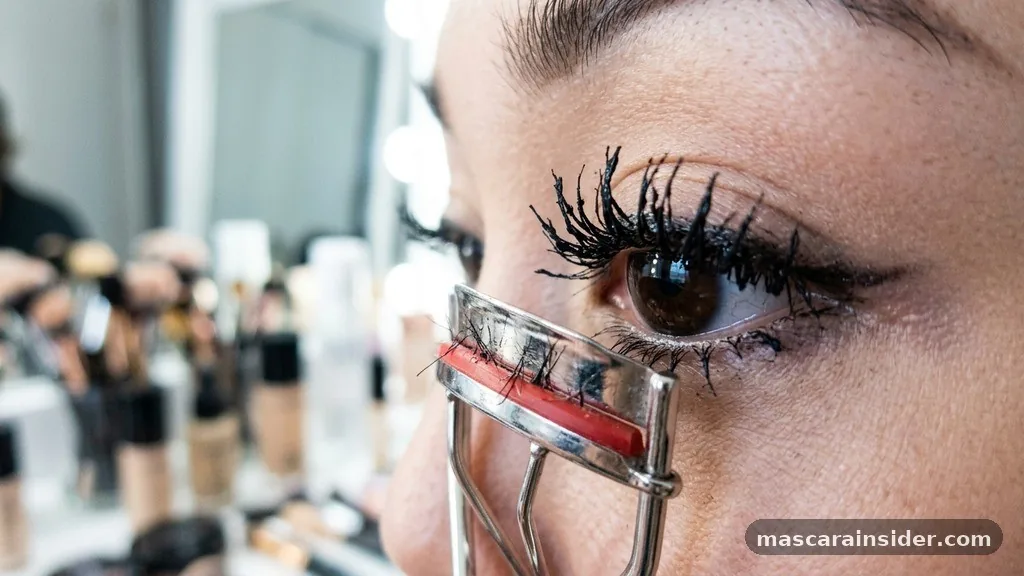
When you clamp a mechanical eyelash curler down on coated lashes, the product often sticks to the silicone pad of the device. This creates a sticky bond that can pull your lashes away from the follicle or cause them to snap mid-shaft, leading to significant lash breakage over time.
Beyond the immediate structural damage, there are several issues that can arise when you attempt to curl after makeup application. First, the mascara will likely clump or smear as the curler bends the hair, ruining the smooth, separated look you worked hard to achieve.
Second, the heavy, wet product can weigh the lashes down, meaning the mechanical lift you hope to achieve will be temporary at best. By curling on a clean, dry surface, you allow the tool to grip the natural lash directly, which provides a much more uniform and stable base for your subsequent makeup steps.
Establishing the Correct Technique for Optimal Lift
To achieve the best possible look, focus on a Technique for Optimal Lift that prioritizes the health of your eye area. Start by ensuring your lashes are completely clean and free of any residual oils or old product, as these can cause the curl to drop prematurely.
Position the mechanical eyelash curler at the very base of your upper lash line, ensuring you don’t pinch the sensitive skin of the dry eye area. Gently pulse the curler, applying firm pressure for about five to ten seconds, but avoid extreme pressure that could crimp the hair rather than creating a smooth, upward sweep.
Once you have established the base curl, you can move toward the tips, but keep your touch light. The goal is to create a gentle, sweeping curve that opens up your eyes, not a harsh L-shaped bend that looks unnatural.
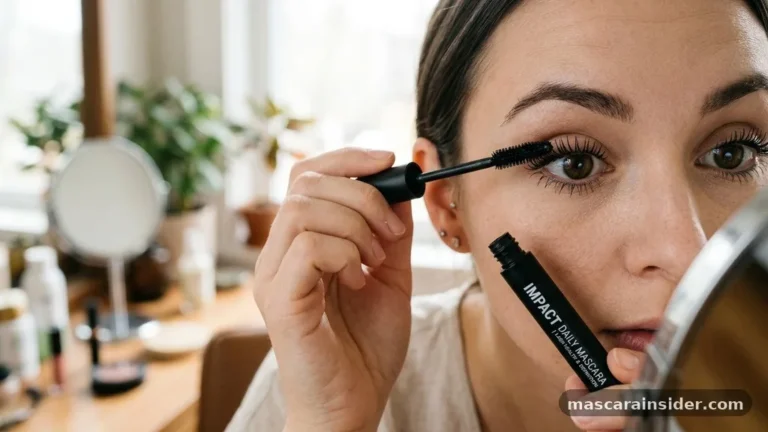
After you have successfully curled your lashes, apply your favorite mascara starting at the roots and wiggling the wand outward to lock that shape in place. This method ensures that the mascara acts as a setting agent, holding the lift you created with the tool throughout the day while preventing the lashes from drooping under the weight of the formula.
Product Selection and Its Impact on Lash Shape
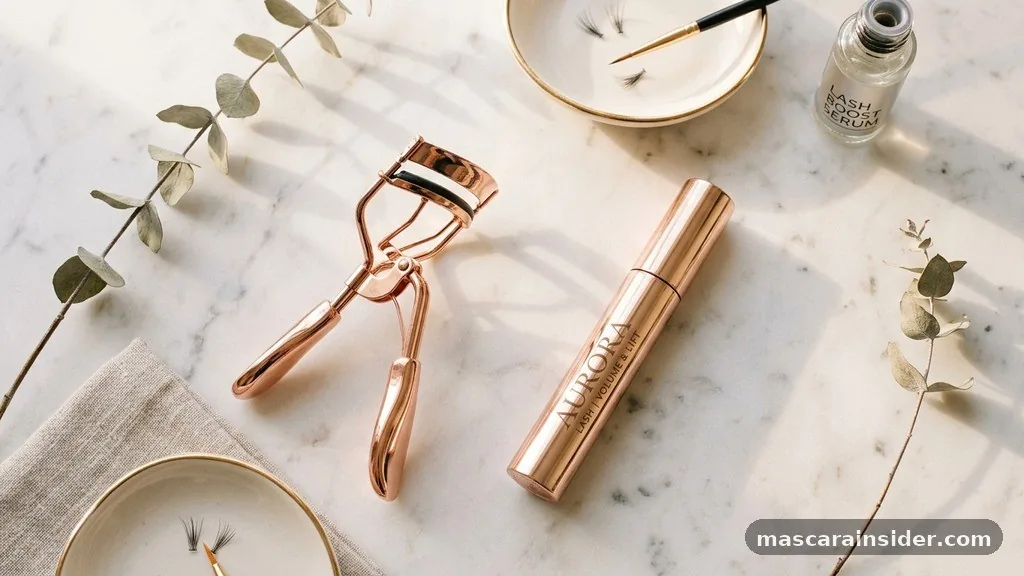
The type of mascara you choose plays a vital role in how well your lashes hold their shape after you have used your curler. Waterproof mascara is often the gold standard for maintaining a curl because it contains volatile solvents that evaporate quickly, effectively “freezing” the lash in its lifted position. However, these formulas can be tougher to remove, which necessitates a gentle touch during your nightly cleaning routine to avoid long-term damage. If you prefer a regular, water-soluble formula, look for lightweight, lengthening options rather than heavy volumizing formulas that can cause your lashes to sag.
If you find that your lashes are naturally stubborn or stubbornly straight lashes, you might consider incorporating a lash primer into your daily routine. A clear or white primer can provide an extra layer of structural support, acting as a scaffold that helps the mascara grip the hair more effectively.
When you combine the right curling process with a high-quality, lightweight formula, you minimize the need to touch up your lashes during the day. Keeping your eye makeup routine consistent is the secret to ensuring your lashes look lifted and healthy, rather than brittle or sparse.
Maintenance and Tool Care for Better Results
Proper maintenance and tool care are frequently overlooked aspects of achieving a great lash look. Over time, the rubber or silicone pads on your curler can become cracked, dirty, or worn down, which severely impacts its performance.
A degraded pad will not distribute pressure evenly, which can lead to uneven curling or, worse, accidental cutting of the lashes. You should inspect your curler weekly and wipe the pads clean with a bit of micellar water or rubbing alcohol to remove any buildup of oils or old mascara that might be lingering on the surface.
If your curler has a metal frame, ensure that the hinge is moving smoothly; a stiff hinge can make it difficult to control the pressure you are applying. Many professional makeup artists recommend replacing the rubber inserts every three months, or sooner if they show signs of wear.
If you are struggling to get a lasting lift despite using the correct sequence, consider whether the curler’s curvature matches your eye shape. A tool that is too flat or too curved for your specific anatomy will never provide that perfect fanned-out effect, no matter when you use it.
Addressing Common Topical Gaps
Many people wonder if there is an exception to the “curl before mascara” rule. While some suggest using a heated curler after mascara, this is generally only safe if the mascara is designed to be heat-resistant and you are extremely careful not to melt the product.
Another common question is whether a lash lift eliminates the need for a curler entirely. A lash lift is a semi-permanent chemical treatment that curls your natural lashes for six to eight weeks; it is an excellent alternative for those who want to skip the daily mechanical curling process.
Another gap in knowledge concerns the use of silicone pads versus metal-on-metal tools. Always ensure your curler has a protective barrier, as metal-on-metal contact is a recipe for lash damage.
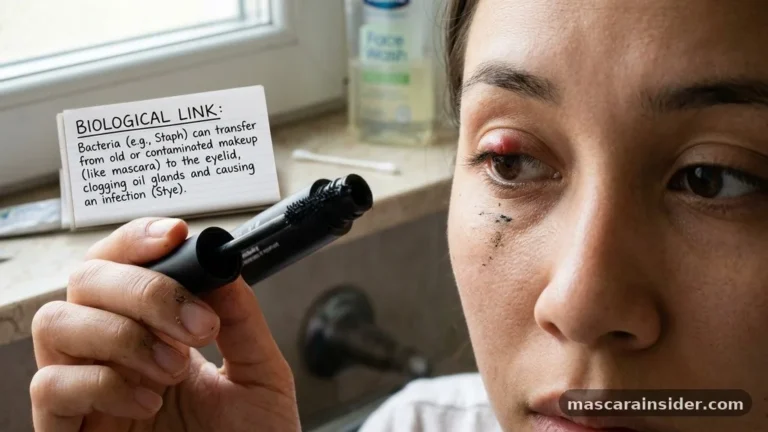
If you have extremely sensitive eyes, you might also find that using a curler after applying mascara causes irritation, as the product can get pressed into the lash line or transferred to the skin. Sticking to the pre-mascara rule is the safest way to maintain both the health of your lashes and the cleanliness of your overall look.
Table: Comparison of Curling Methods
| Method | Best For | Risk Level | Duration |
|---|---|---|---|
| Mechanical Curler | Daily usage | Low (if used correctly) | Daily |
| Heated Curler | Stubborn, straight lashes | Moderate | Daily |
| Lash Lift | Long-term convenience | Low (if professional) | 6-8 weeks |
| Primer + Mascara | Added volume/hold | Very Low | Daily |
Frequently Asked Questions
Can I curl my lashes after mascara if it is still wet?
No, curling while mascara is wet causes clumping, smearing, and potential damage to the lash hair fibers.
How often should I replace my eyelash curler?
You should replace the rubber pads every three months and the entire curler annually for best performance.
Why do my lashes lose their curl immediately?
Your lashes might be too heavy or the mascara formula may be too wet, causing the hair to sag.
Does curling lashes damage them over time?
It can cause breakage if you apply excessive pressure or use a curler with a damaged rubber pad.
Should I heat my eyelash curler?
Only use a specifically designed heated curler; never use a lighter on a metal tool to avoid burns.
Can I curl false eyelashes?
It is generally not recommended as it can ruin the shape and adhesive bond of the false lashes.
What is the best way to clean my eyelash curler?
Wipe the silicone pads with a cotton pad soaked in rubbing alcohol to remove oils and residue.
Ultimately, the debate regarding whether you should curl your eyelashes before or after mascara is settled by prioritizing lash health and product efficacy. By consistently curling your lashes before you apply any product, you ensure that your tools perform exactly as intended without compromising the structure of your hair. This simple adjustment to your eye makeup routine helps prevent lash breakage, keeps your tools cleaner, and allows for a more reliable, long-lasting lift.
If you find your current routine isn’t yielding the results you want, focus on the quality of your curler, the condition of the pads, and the lightness of your mascara formula. With these small shifts in technique, you can easily maintain a beautiful, open-eyed appearance while keeping your natural lashes strong and healthy. If you have found success with these tips, feel free to share your own experiences with your favorite curling methods.