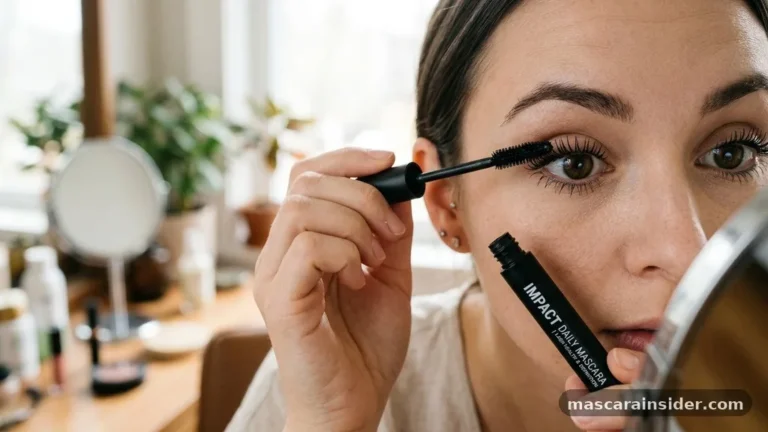

Mastering the art of applying mascara is one of the most effective ways to open up your eyes and define your entire look. While it might seem straightforward, achieving that perfect, clump-free flutter requires a bit of technique and the right tools. Whether you are aiming for a soft, natural daytime appearance or a dramatic, voluminous effect for an evening out, understanding how to put on mascara effectively changes everything.
By focusing on your lash base and using precise movements, you can avoid common pitfalls like smudging or uneven distribution. Let’s dive into the essential steps that will ensure your lashes look flawless every single time you apply your favorite formula.
Preparing Your Lashes for Optimal Results
Before you even touch your mascara tube, your lashes need to be properly prepped. Clean, dry lashes are the best canvas for any product, as residual oil or leftover makeup from the day before can prevent the formula from adhering correctly.
Use a gentle, oil-free eye makeup remover to wipe away any debris, ensuring your lash line is completely clear. If you skip this step, you might find that your mascara starts to flake or smudge within a few hours of application, no matter how high-quality the product is.
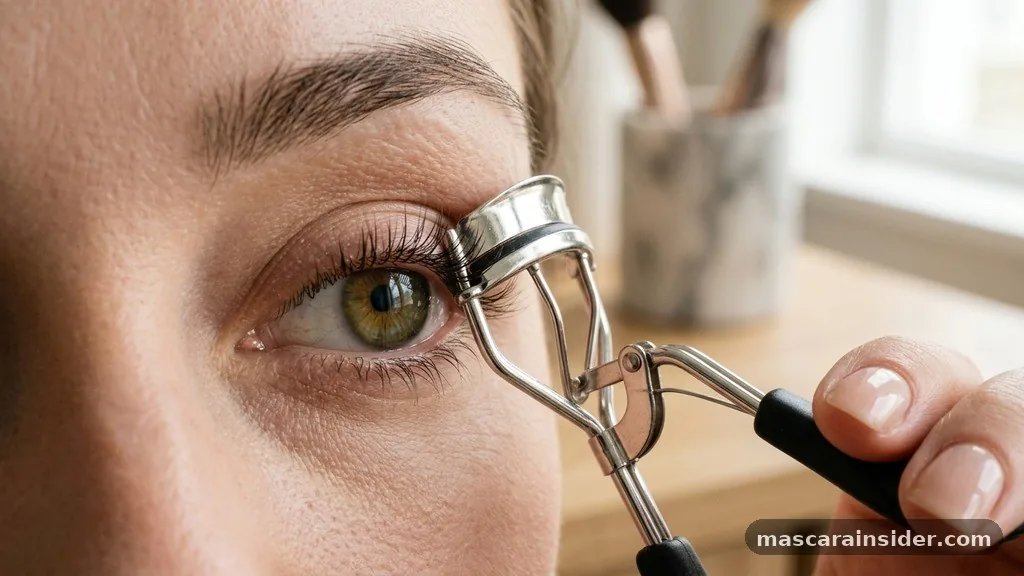
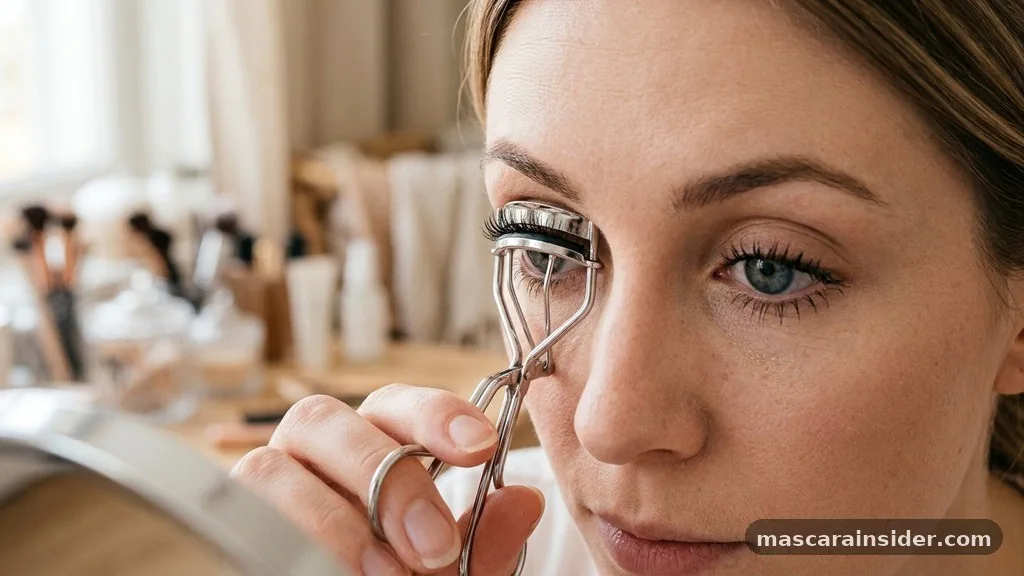
Many people swear by the eyelash curler as the first non-negotiable step in their routine. Using a curler helps to lift the lashes from the root, which instantly makes your eyes look more awake and alert. Position the curler as close to the base of your lashes as possible without pinching your delicate eyelid skin.
Hold the squeeze for about five to ten seconds, then release. For an extra lift, you can gently pulse the curler along the length of your lashes, but be careful not to create a harsh, unnatural crimp.
The Role of Eyelash Primer
If you struggle with lashes that fall flat or mascara that doesn’t hold its curl, an eyelash primer can be a total game-changer. Think of it as a base coat for your eyes.
It typically comes in a white or clear formula that coats each lash, creating a thicker surface for the black pigment to grip onto. This extra layer adds volume and length, helping you achieve a more dramatic look with fewer coats of mascara.
Applying primer is very similar to applying regular mascara. Start at the roots and wiggle the brush through to the ends, ensuring every lash is coated.
You don’t need to wait for it to dry completely before going in with your mascara; in fact, applying your mascara while the primer is still slightly tacky often helps the two formulas bond better. This simple addition to your routine can significantly extend the wear time of your makeup, keeping your lashes looking fresh and lifted from morning until night.
Mastering the Root-to-Tip Application Technique
The secret to a professional look lies in the root-to-tip application method. Most people make the mistake of only coating the ends of their lashes, which can actually weigh them down and make them look droopy.
Instead, place your mascara wand at the very base of your upper lash line. This is where you want the most product, as it provides the foundation for volume and helps keep the lashes curled upward.
Once the wand is positioned at the base, use a zigzag motion to wiggle it back and forth as you pull the wand toward the tips. This side-to-side movement is crucial for ensuring that the lashes are separated and coated individually, rather than clumped together in sections.
If you simply pull the wand straight up, you’ll likely end up with uneven distribution. Take your time during this phase; the slow, deliberate movement allows the bristles to grab every single lash, even the tiny ones in the inner and outer corners.
Preventing Clumping and Ensuring Separation
Clumping is the most common frustration when using mascara. It often happens when you apply too many layers too quickly or when your mascara tube has become old and thick.
To keep your lashes looking defined and fluttery, always scrape off any excess product from the wand before bringing it to your eye. You can wipe the wand on the rim of the tube or use a tissue to remove the heavy globs of formula that tend to gather on the tip.
If you do notice your lashes sticking together, don’t panic. Keep a clean spoolie brush on hand specifically for this purpose. After you’ve applied your mascara, run the clean spoolie through your lashes while the product is still wet.
This acts as a comb, effectively providing eyelash separation and removing any excess product that might be causing them to clump. It’s a simple trick, but it makes a world of difference in achieving that clean, wide-eyed look.
Addressing the Bottom Lash Line
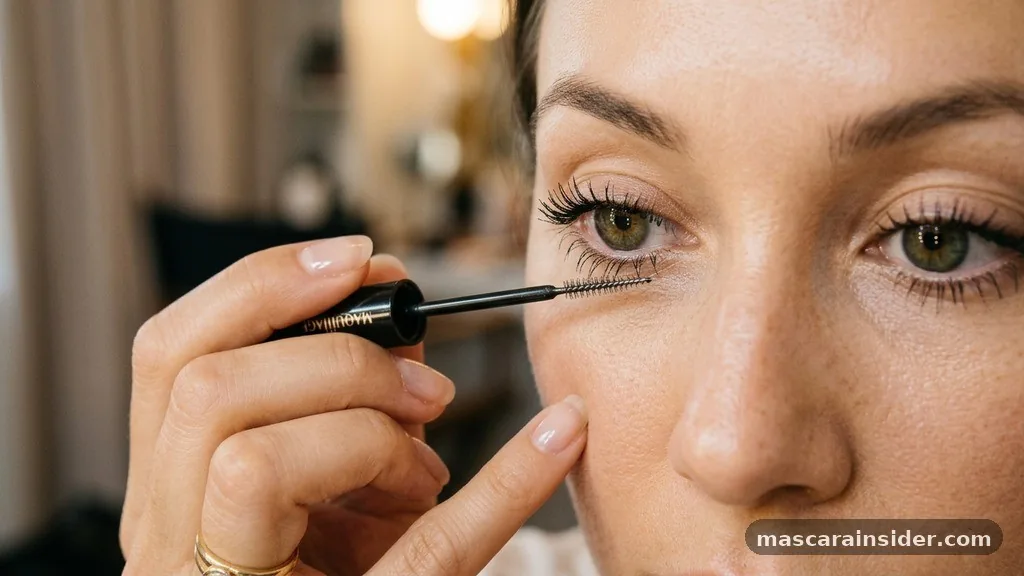
Applying mascara to the bottom lash line requires a much lighter hand than the top lashes. Because your lower lashes are usually shorter and finer, using a full-sized brush can easily lead to smudging on your under-eye area.
To avoid this, try holding your wand vertically, using only the very tip of the brush to lightly touch the lashes. This gives you much more control and prevents you from accidentally depositing too much pigment onto your skin.
If you find that your lower lashes still smudge regardless of your technique, consider using a waterproof mascara specifically for the bottom lashes. Waterproof formulas are designed to resist moisture and oil, making them much less likely to migrate onto your concealer throughout the day. Alternatively, you can hold a small piece of tissue or a plastic card behind your lower lashes while you apply the mascara to catch any stray droplets.
Common Mistakes and How to Fix Them
Even the most experienced makeup enthusiasts make mistakes. One of the most common issues is getting mascara on your eyelid skin. If this happens, wait for the mascara to dry completely before trying to remove it.
If you try to wipe it off while it’s still wet, you’ll just smear it across your eyeshadow, ruining all your hard work. Once it is dry, take a clean cotton swab and gently flick the dried mascara off your skin. It will lift right off without disturbing your base makeup.
Another frequent error is pumping the wand into the tube. Many people do this to get more product on the brush, but it actually forces air into the tube, which causes the formula to dry out and become clumpy much faster.
Instead of pumping, swirl the wand inside the tube to pick up the product. If your mascara is getting old and dry, you can add a drop or two of saline solution or a dedicated mascara revitalizer to bring it back to life, though it’s generally best to replace it every three months for hygiene reasons.
Does mascara go on top and bottom?
Yes, you can apply mascara to both, but use less product on the bottom for a natural look.
Should mascara be applied first or last?
Mascara should generally be the final step in your eye makeup routine to avoid covering it with eyeshadow.
Do you put mascara on before or after foundation?
Apply foundation first, as mascara can flake during application and you don’t want to ruin your base.
Strategic Makeup Application Order
Your makeup application order matters significantly when it comes to the longevity and appearance of your mascara. As a general rule, mascara should be the very last thing you do before setting your face. If you apply your mascara first and then proceed to blend out your eyeshadow, you risk getting powder fallout all over your freshly coated lashes, which can make them look dull and gray.
By waiting until your eyeshadow and eyeliner are perfectly set, you ensure that your lashes remain dark, glossy, and clean. If you use a makeup setting spray, mist your face after you have finished your entire look, including your mascara.
However, be careful not to spray too close to your eyes, as the moisture can sometimes cause fresh mascara to smudge if it hasn’t fully set yet. Keep your eyes closed for a few seconds after spritzing to allow the mist to settle evenly.
Choosing the Right Formula: Smudge-Proof vs. Waterproof
Not all mascaras are created equal, and choosing the right one for your specific needs is a major part of the process. If you have oily eyelids or live in a humid climate, a smudge-proof formula is your best friend.
These are often labeled as tubing mascaras, which form tiny water-resistant tubes around each lash. They don’t flake or run, and they are incredibly easy to remove at the end of the day with just warm water and a gentle tug.
On the other hand, waterproof mascara is the gold standard for long-wear events, such as weddings or long workdays. It locks the curl in place exceptionally well because it doesn’t contain the water-based ingredients that can cause lashes to droop.
However, because it is so resilient, you must use an oil-based makeup remover to break down the formula effectively. Scrubbing your eyes to remove waterproof products can damage your natural lashes, so always take the time to soak a cotton pad in remover and press it gently against your lashes before wiping.
| Feature | Waterproof Mascara | Tubing/Smudge-Proof Mascara |
|---|---|---|
| Removal | Requires oil-based remover | Warm water and gentle pressure |
| Curl Retention | High; holds shape well | Moderate; can be heavier |
| Best For | Events, humidity, swimming | Daily wear, oily eyelids |
Advanced Tips for Voluminous, Long-Lasting Lashes
If you want to take your look to the next level, focus on layering and texture. You can mix and match formulas to get the best of both worlds.
Start with a lengthening mascara to define the individual lashes, then follow up with a volumizing formula that focuses on the roots. This layering technique prevents the heavy, spidery look that comes from applying too much of a thick, volumizing formula all at once.
Another advanced technique is the “back-combing” method. After coating your lashes normally, take the wand and gently brush the tops of your upper lashes. This coats the upper side of the lash hair, which adds extra darkness and drama, especially if you have naturally light-colored lashes.
Always finish with a quick check in a magnifying mirror to ensure no lashes are stuck together. If you find any gaps, use the very tip of your wand to add a tiny bit of extra product precisely where it’s needed.
Frequently Asked Questions
Can I use a spoon to help apply my mascara?
Yes, placing a spoon behind your lashes prevents mascara from smudging onto your eyelid while applying.
How do I fix clumpy lashes after they have dried?
Use a clean spoolie brush to gently comb through the lashes and break up the dried clumps.
Is it safe to share mascara with friends?
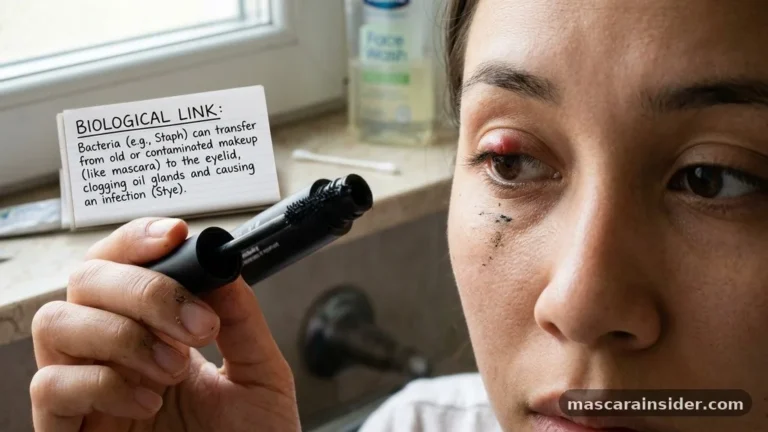
No, sharing mascara can lead to eye infections, as bacteria from one person’s eye transfers to yours.
How often should I replace my mascara tube?
You should replace your mascara every three months to prevent bacterial growth and formula drying out.
Can I apply mascara to fake lashes?
Yes, but apply it sparingly to blend your natural lashes with the falsies, not to coat them.
Why does my mascara always smudge under my eyes?
This usually happens due to oily skin; try using a primer or a waterproof formula to prevent transfer.
Does pumping the wand make mascara last longer?
No, pumping pushes air into the tube, which causes the formula to dry out much faster.
Mastering the process of applying mascara is an essential skill for anyone who enjoys makeup. By preparing your lashes properly, choosing the right formula, and using controlled techniques like the zigzag motion, you can achieve a professional-looking result every single day. Remember that less is often more, and keeping your tools clean is the secret to avoiding those frustrating clumps and smudges.
Start with a clean base, focus on the roots, and take your time to ensure proper separation. As you practice these steps, you will find that your routine becomes faster and more effective, allowing you to highlight your eyes with confidence. Experiment with different brushes and formulas to find what works best for your specific lash type, and don’t be afraid to adjust your technique as you go.
With these fundamentals in place, you are well on your way to achieving beautiful, defined lashes that enhance your natural beauty. Keep experimenting and enjoy the process of perfecting your look.