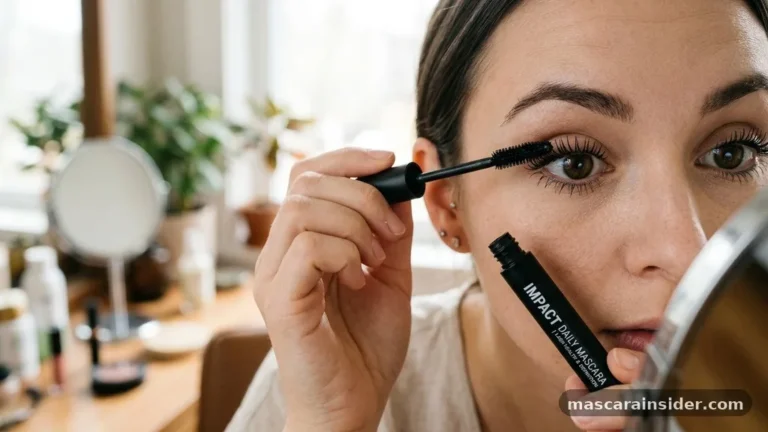

Mastering the technique for how to put mascara on effectively transforms your entire face by opening up the eyes and creating a polished, alert appearance. While it might seem like a simple daily ritual, achieving a clump-free, professional finish requires more than just swiping a wand across your lashes.
From selecting the right formula to perfecting your wrist movement, small adjustments in your routine can prevent common frustrations like flaking or smudging. Whether you want subtle definition for a workday or dramatic volume for an evening out, understanding the mechanics of application ensures your lashes look long, healthy, and perfectly separated every single time you reach for your makeup bag.
Preparing Your Lashes for Flawless Application

Before you even touch your mascara wand, the condition of your lashes plays a major role in the final result. Most people skip the prep phase, but cleaning your eyelids and lashes of any residual oils or previous day’s makeup is essential for a smooth finish.
If your lashes are coated in natural oils, the product will struggle to adhere, leading to premature flaking throughout the day. Using a gentle micellar water to wipe the area clean creates a perfect canvas.
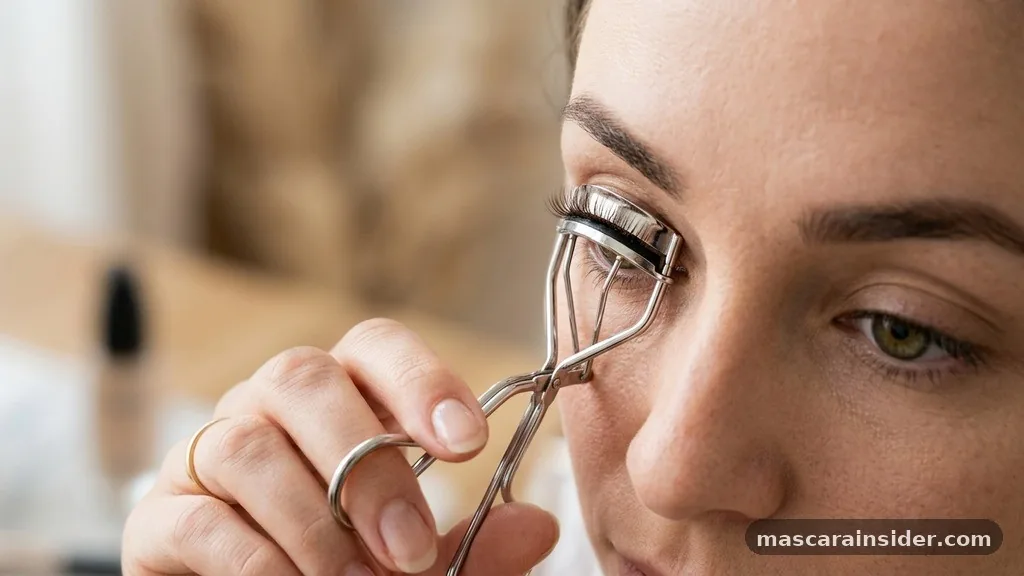
Many professionals also recommend using a makeup primer specifically designed for the eyes. These primers condition the hair and provide a tacky base that helps the pigment grip better. If you have particularly stubborn, straight lashes, an eyelash curler is non-negotiable.
Always curl your lashes before applying any product; curling after the formula has dried can cause the hairs to become brittle and snap. Position the curler at the very base of your lashes, hold for five seconds, and release gently to create an upward lift that lasts.
Selecting the Right Mascara Formula
The market is saturated with options, and choosing the wrong one can make your application process feel like a chore. If you struggle with eyelid smudging, you might consider a tubing mascara. Unlike traditional formulas that paint the lashes with pigment, these create tiny water-resistant tubes around each lash.
They don’t smear when exposed to oil or sweat, yet they wash off easily with warm water. This makes them a savior for those with hooded eyes or oily skin types.
For those who prioritize volume and dramatic intensity, a fiber mascara is often the preferred choice. These formulas contain tiny synthetic fibers that attach to the ends of your natural lashes, artificially extending their length and density.
If you live in a humid climate or are attending an event where you might tear up, a high-quality waterproof mascara remains the gold standard. Keep in mind that waterproof formulas are harder to remove, so ensure you have an oil-based makeup remover on hand to protect your delicate eye area from excessive scrubbing or pulling during the evening cleanup.
Mastering the Zig-Zag Motion Technique
The secret to a clump-free application lies almost entirely in your wrist movement. Most beginners simply pull the wand straight up from root to tip, which often results in product accumulation at the ends and a lack of definition at the base.
Instead, place the brush at the lash root and wiggle it back and forth in a tight zig-zag motion. This movement deposits the majority of the pigment at the base, where you want the most density to mimic a tightline effect.
As you reach the mid-lengths and tips, slowly pull the wand upward in a straight line while continuing to blink slightly against the brush. This blink-and-pull technique ensures the product is distributed evenly along the entire length of the hair.
If you feel your lashes starting to stick together, use a clean spoolie brush to comb through them while the product is still wet. This step provides excellent lash separation and removes any excess weight that might cause your curl to drop throughout the day.
Addressing the Bottom Lash Line
Applying product to the bottom lashes is often where most people encounter trouble with smudging. The skin under the eye is thin and tends to move, which can transfer pigment onto your concealer or skin.
To prevent this, look downward into a mirror while applying. This stretches the skin slightly and moves the lower lashes away from your cheek, giving you more space to work without making a mess.
Use the very tip of your mascara wand rather than the full length of the brush. By holding the wand vertically, you can precision-apply the product to individual lashes, avoiding the heavy, spider-like look that happens when you overload the bottom fringe.
If you are worried about transfer, consider using a waterproof formula strictly for the bottom lashes, even if you use a standard formula on top. This creates a barrier against the natural moisture and oils of the lower eye area, keeping your look fresh for hours.
Common Mistakes to Avoid During Application
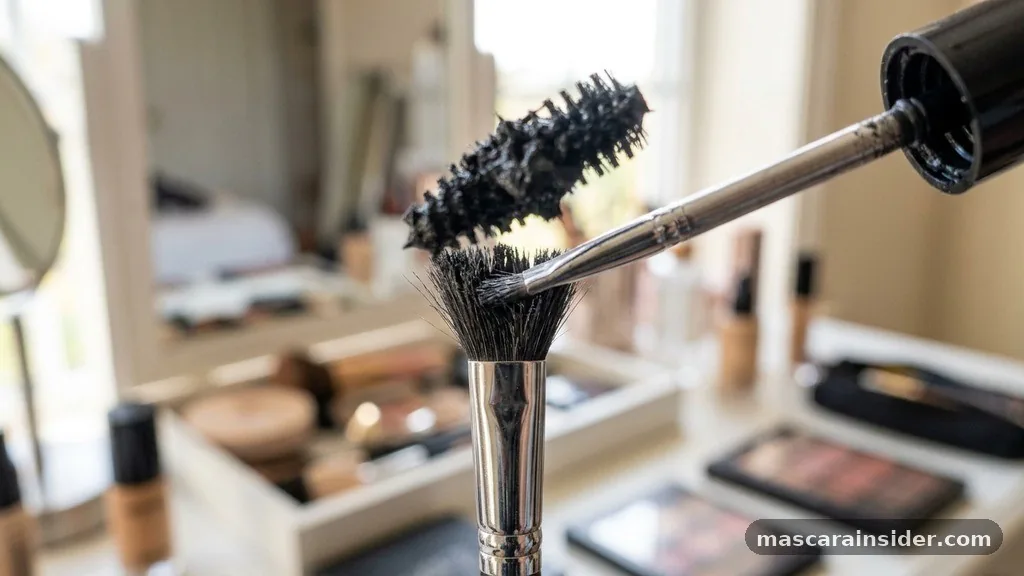
Even with the best tools, it is easy to fall into habits that ruin your look. One of the most common errors is “pumping” the wand in and out of the tube. This action forces air into the container, which dries out the formula significantly faster and encourages the growth of bacteria.
Instead, swirl the wand inside the tube to pick up the product. If you find you have too much on the brush, wipe the excess off on a tissue rather than the rim of the tube.
Another mistake is waiting too long between coats. If you want to layer your product for more volume, do the second coat while the first is still slightly tacky.
If you wait until it is completely dry, the second layer will catch on the hardened formula, leading to unsightly clumps and flaking. Aim to finish both eyes in one sitting rather than doing one eye completely and then moving to the next.
| Feature | Standard Formula | Tubing Formula | Waterproof Formula |
|---|---|---|---|
| Removal Difficulty | Low | Low (Warm Water) | High (Oil-based) |
| Smudge Resistance | Moderate | High | High |
| Best For | Daily wear | Oily skin/hooded eyes | Events/Humid weather |
Managing Topical Gaps in Mascara Application
Many people ask how to handle the “gap” between their lashes and their eyelid, or how to reach those tiny inner corner hairs that seem impossible to coat. The trick is to change the angle of your head.
Tilt your chin up and look down into a mirror that is placed on a table. This position naturally exposes the roots of your upper lashes, making it much easier to get the brush close to the skin without touching the eyelid.
For the inner and outer corners, don’t try to use the middle of the wand. Bend the tip of the wand slightly—most plastic wands are flexible enough to hold a slight angle. This allows you to reach those tricky corner lashes without dragging the brush across your nose or temple.
If you accidentally get a dot of product on your eyelid, do not try to wipe it away immediately. Let it dry completely for a minute or two. Once it’s dry, you can gently flick it off with a clean, dry cotton swab, and it will usually flake away without ruining your eyeshadow or foundation.
The Importance of Lash Definition and Maintenance
Achieving lash definition is about more than just the product; it is about how you maintain your tools. A dirty wand is a magnet for bacteria and a primary cause of uneven, clumpy lashes.
If you have a favorite wand from an old tube, wash it with gentle soap and warm water, let it dry, and keep it as a dedicated tool for combing through your lashes after application. This simple habit keeps your lashes looking full and fluttery rather than weighed down by excess product.
Furthermore, remember that your lashes have a growth cycle. They shed and regrow just like the hair on your head.
If you notice your lashes are becoming brittle, take a break from waterproof formulas for a few days and use a conditioning serum or a simple castor oil treatment at night. Healthy, hydrated lashes naturally hold product better and require less effort to look amazing, effectively reducing the amount of work you need to do every morning.
Applying Mascara for a Natural Look
Sometimes, the goal isn’t drama; it’s simply to look like you have naturally dark, thick lashes. To achieve this, avoid the heavy zig-zag motion at the roots. Instead, use a light, sweeping stroke from the mid-lengths to the tips.
This provides a soft tint without the heavy volume that screams “makeup.” You can also use a brown or soft black shade instead of intense jet black to keep the look approachable and fresh.
Another way to maintain a natural appearance is to focus your application only on the outer two-thirds of your eyes. By skipping the very inner corners, you create a soft, wide-eyed effect that looks effortless.
If you want to add a little more depth, try using a waterline application technique where you gently tightline the upper waterline with a waterproof pencil before applying your mascara. This fills the gaps between the roots, making your lash line appear fuller without the need for thick, heavy product layers.
Troubleshooting Clumping and Flaking
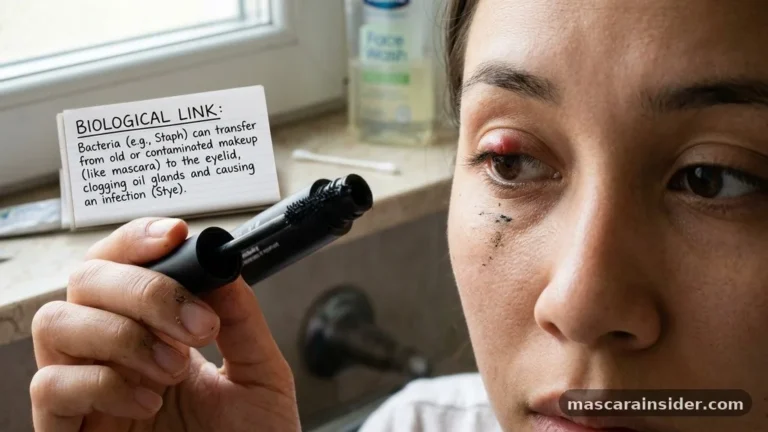
If you find yourself constantly battling clumps, it is likely that your product is too old or you are using too much of it. Mascara has a very short shelf life—usually three months once opened. If your product is past this window, it will become thick, stringy, and difficult to apply.
Don’t try to “fix” an old tube with eye drops or oils; this compromises the preservative system and can lead to eye infections. Just replace it.
If you are using a fresh tube and still seeing clumps, try the “wipe-off” method. Before bringing the wand to your eye, wipe the majority of the product onto a clean tissue.
It feels counterintuitive to waste the product, but you only need a thin, even layer to get the best results. You can always build up with a second light coat, but you cannot easily remove a glob of excess mascara once it has been deposited on your lashes.
Conclusion
Putting on mascara is a skill that blends technical precision with the right product choices for your unique eye shape and lifestyle. By focusing on root-based application, maintaining your tools, and being mindful of how you handle your lashes, you can easily achieve a professional look that enhances your natural beauty. Remember to prioritize the health of your lashes by removing product thoroughly each night and replacing your tubes regularly.
With these techniques, you’ll find that your daily routine becomes much faster and far more consistent. Experiment with these methods, find the combination of tools and formulas that works best for you, and enjoy the confidence that comes with perfectly defined, fluttery lashes. If you have any specific concerns about your lash type or product compatibility, feel free to reach out for more tailored advice.
Does mascara go on top and bottom?
Yes, applying to both adds balance, but use a lighter touch on the bottom to avoid smudging.
How to properly apply mascara without clumping?
Use the zig-zag motion at the roots and comb through immediately with a clean, dry spoolie brush.
When applying mascara, you should use a?
You should use a mirror positioned below your eye level to ensure better visibility of the roots.
Should mascara be applied first or last?
Apply it last in your eye makeup routine to prevent eyeshadow fallout from sticking to your wet lashes.
How do you prevent eyelid smudging?
Use a tubing formula or apply a light dusting of translucent powder to the lids before you start.
Can you apply mascara without a curler?
Yes, you can gently push your lashes upward with your finger while the product is still drying.
How often should you replace your mascara?
Replace your tube every three months to prevent bacterial growth and ensure the formula remains fresh, effective.