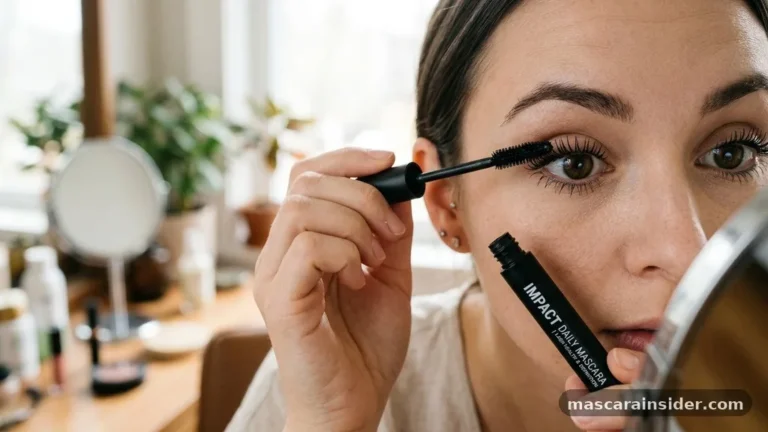

Learning how to make DIY mascara gives you complete control over exactly what goes near your eyes every single morning. Many commercial products contain synthetic polymers, parabens, or fragrances that can irritate sensitive skin, but crafting your own blend allows you to prioritize purity. By choosing high-quality, food-grade ingredients, you can achieve a natural look that enhances your lashes without the chemical footprint of store-bought alternatives.
Whether you are aiming for a subtle daytime boost or a more dramatic lash coating, understanding the chemistry of your beauty products is a rewarding step toward a minimalist lifestyle. Let’s look at how to get started safely and effectively.
The Core Chemistry of Natural Lash Coatings
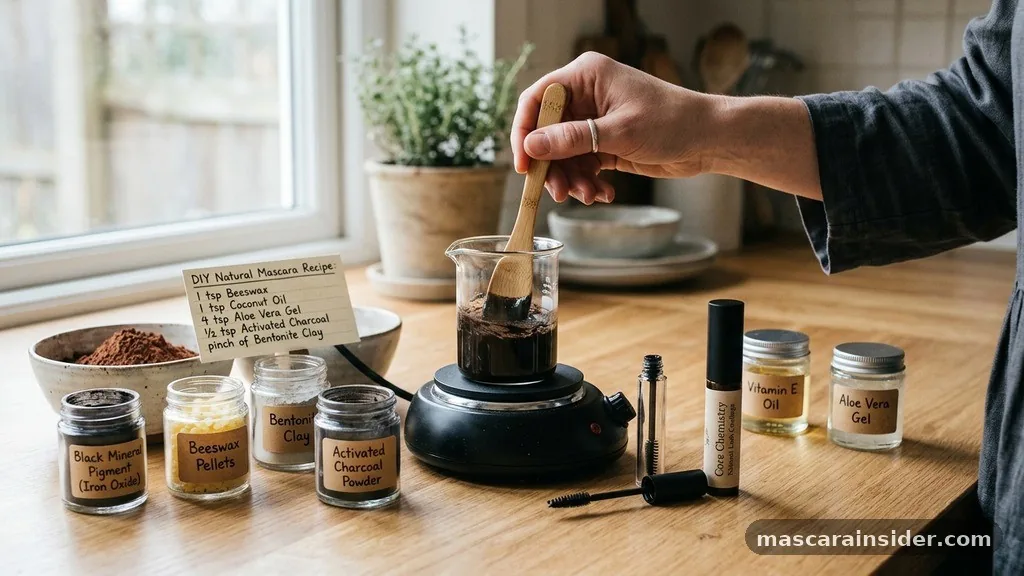
At its simplest, when you explore how to make DIY mascara, you are essentially creating an emulsion of fats, waxes, and pigments. Most commercial formulas rely on complex polymers to stay put, but home versions typically utilize a base of beeswax pellets for structure and holding power.
This wax provides the necessary water resistance and helps the product adhere to individual lashes without smearing easily. When you melt these waxes alongside nourishing carrier oils, you create a conditioning treatment that protects the hair shaft while adding visible pigment.
The secret to a smooth application lies in the ratio of your chosen ingredients. If your mixture is too waxy, it will flake off the moment it dries; if it is too oily, it will smudge within an hour of wear.
You want a balance that provides enough “tack” to cling to the lash while remaining flexible enough to avoid brittle cracking. This balance is the hallmark of effective DIY cosmetics and requires a bit of experimentation to match your specific lash density and oil production levels.
Sourcing Safe and Effective Pigments
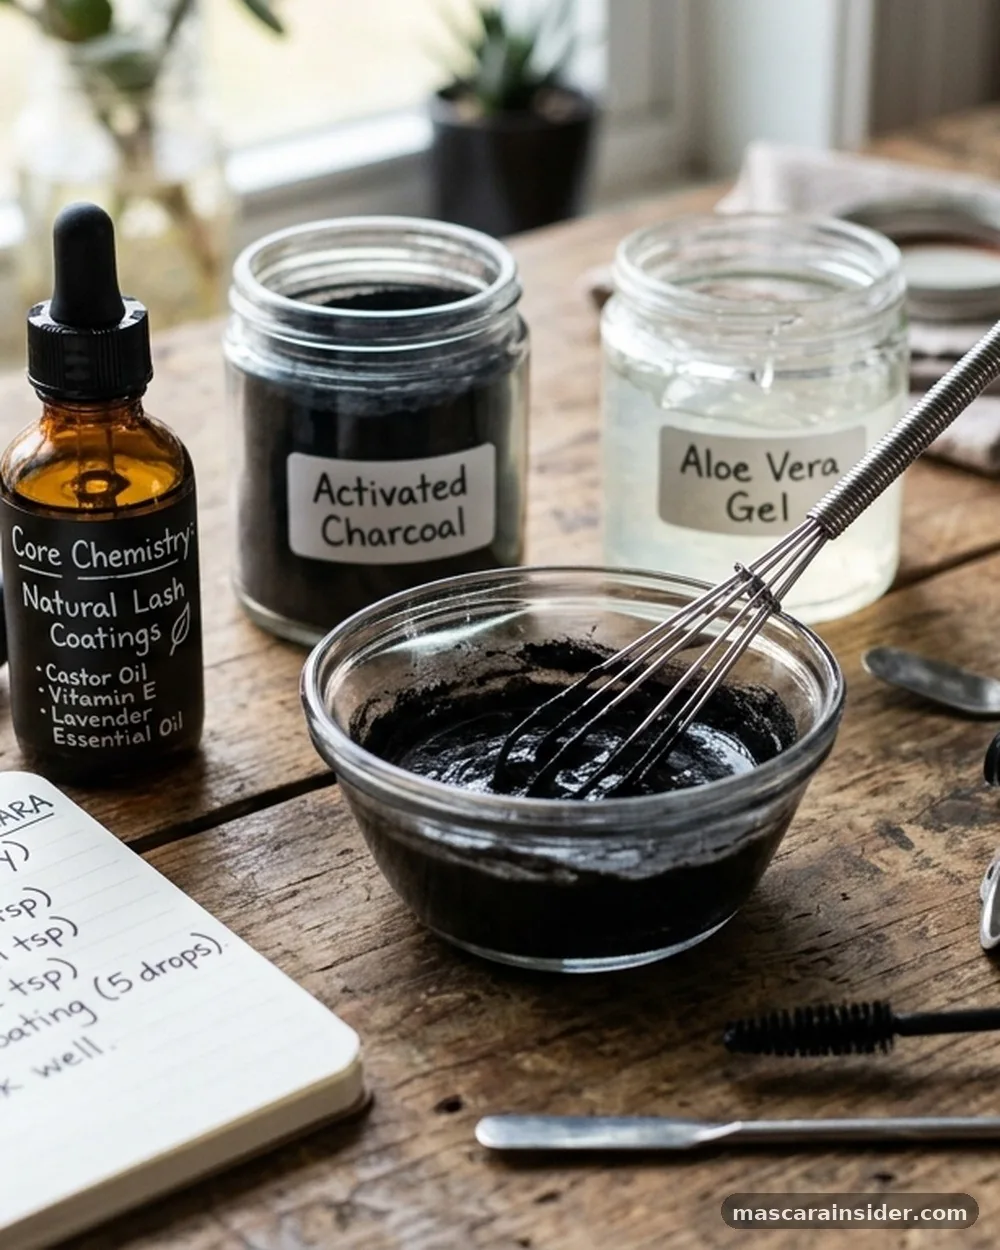
Achieving a deep, rich black color is the primary challenge in any homemade formulation. Traditionally, activated charcoal is the go-to ingredient for home crafters because it is widely available and provides a matte, intense darkness.
However, it is vital to source high-quality, finely milled powder to ensure the consistency stays smooth and lump-free. Gritty mascara is not only uncomfortable but can also lead to lash breakage or irritation if the particles are too coarse for the delicate eye area.
Some creators prefer using food-grade iron oxides or mineral pigments for a more professional finish. These are chemically similar to what you find in high-end makeup brands, offering superior color payoff and a more uniform texture.
If you choose to go this route, ensure your minerals are specifically marketed as “cosmetic grade” to guarantee they are free from heavy metal contamination. Always mix your pigment into the melted base thoroughly using a tiny whisk or stirrer to avoid clumps.
Integrating Conditioning Agents for Lash Health
While color and hold are important, the best homemade formulas also act as a lash conditioner. Adding shea butter or coconut oil to your recipe introduces essential fatty acids that keep the lashes hydrated and supple.
These oils help prevent the dryness that often accompanies long-term mascara use, especially if you have a habit of rubbing your eyes. By incorporating these fats, you turn your makeup application into a mini-treatment that supports lash growth and health.
It is helpful to view your mascara as a dual-purpose product. Because you are avoiding the harsh, drying agents found in many drugstore brands, your lashes may actually appear healthier over time. Just be mindful of the quantity of oil you include.
Too much oil will prevent the wax from setting properly, resulting in a formula that never truly dries down. Start with a conservative amount and adjust based on the final texture of your batch.
The Role of Aloe Vera in Lash Formulas
If you want a lighter, more natural-looking finish that doesn’t feel heavy, aloe vera gel can serve as an excellent base ingredient. Unlike beeswax-heavy recipes, an aloe-based mascara provides a softer hold that is perfect for those who want a “no-makeup” makeup look. This version is especially popular for people with extremely sensitive eyes who find waxes too irritating or heavy to wear for extended periods.
Using aloe as a primary binder also creates a cooling sensation during application. This is particularly soothing if your eyes are prone to redness or fatigue. However, keep in mind that aloe-based formulas are less water-resistant than wax-based ones.
They are best suited for indoor wear or environments where you aren’t likely to encounter high humidity or rain. They offer a clean, clump-free separation that looks very natural and polished.
Understanding Safety and Bacterial Growth
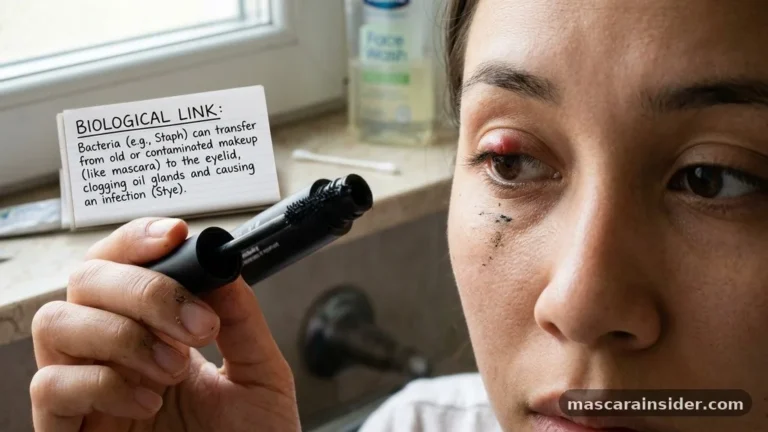
One of the most critical aspects of learning how to make DIY mascara is acknowledging the risk of bacterial growth. Because you are creating a water-based or oil-based product at home without industrial-grade preservatives, you are working in an environment that bacteria love.
The eye is incredibly susceptible to infection, which is why your workspace and tools must be sanitized before you begin. Never reuse an old mascara tube unless you have completely sterilized it in boiling water and allowed it to dry fully.
The lack of preservatives means your homemade product has a significantly shorter shelf life than store-bought items. You should plan to replace your DIY mascara every two to four weeks, or sooner if it develops an off smell or changes color.
Always store your mixture in a sterile container and keep it in a cool, dark place away from direct sunlight. Treat your homemade beauty products like fresh food rather than shelf-stable cosmetics.
Essential Tools for Consistent Results
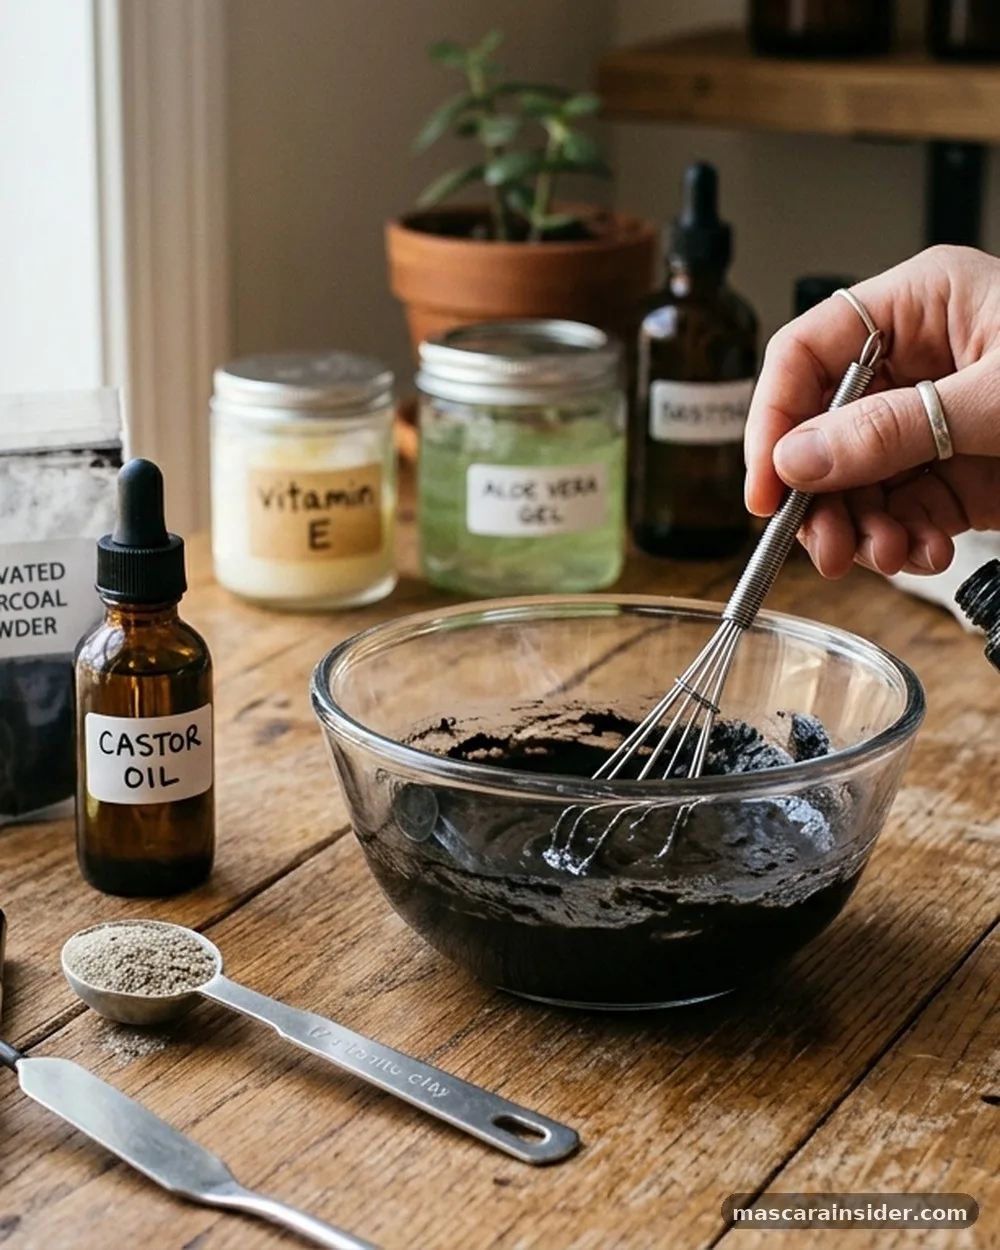
To get the best out of your DIY efforts, you need the right set of tools. Investing in a clean, high-quality mascara wand is non-negotiable. You can often find these in bulk online, allowing you to use a fresh one frequently.
Using the same wand for too long is the fastest way to introduce bacteria into your mascara, regardless of how clean your formula is. Having a few spare wands on hand ensures you can maintain hygiene without hassle.
Beyond the wand, you will need a small double boiler setup to melt your waxes and butters safely. Direct heat can easily scorch your ingredients, destroying their nourishing properties.
A small glass beaker or a stainless steel bowl placed over a pot of simmering water works perfectly. Keep a dedicated set of small measuring spoons and a mini silicone spatula to ensure you are getting every last drop of your mixture into the tube.
Addressing Common Hurdles in DIY Formulations
Many people struggle with their first batch of mascara because they expect it to perform exactly like a waterproof, synthetic product. It is important to remember that natural ingredients function differently.
You may find that your homemade version requires a slightly different application technique, such as applying in thin layers rather than one heavy coat. If you find your mascara is smudging, you can try adding a tiny pinch of arrowroot powder to the mixture, which helps absorb excess oil on the eyelids.
| Challenge | Potential Solution |
|---|---|
| Excessive Smudging | Increase the beeswax ratio slightly |
| Product is Too Dry | Add a few drops of vitamin E or jojoba oil |
| Clumpy Application | Ensure pigments are finely milled and sifted |
| Short Shelf Life | Keep in the fridge and use smaller, fresh batches |
If you are struggling with flaking, your wax-to-oil ratio is likely skewed toward too much wax. Try reducing the wax by half a teaspoon in your next batch.
Remember that emulsification is difficult to achieve perfectly at home without professional-grade stabilizers, so don’t be discouraged if your formula separates slightly over time. A quick shake or stir before use is often all that is needed to bring it back together.
Topical Gaps: What You Might Not Know
A common question is whether these ingredients impact contact lens safety. Generally, oil-based mascaras are not recommended for contact lens wearers because the oils can coat the lenses, causing blurry vision and potential discomfort.
If you wear lenses, you should stick to water-based, oil-free recipes using aloe vera and avoid any formula that contains heavy waxes or essential oils that might migrate into the eye. Always test your finished product on the back of your hand or a small patch of skin before using it on your lashes to check for allergic reactions.
Another common gap in DIY advice is the issue of “natural” versus “safe.” Just because an ingredient is natural, such as a specific essential oil, does not mean it is safe for the eye area. Many essential oils, including lavender or peppermint, can cause severe irritation or chemical burns if they get into the eye.
Always prioritize simplicity. A basic mixture of wax, oil, and pigment is safer than a complex one filled with various botanical extracts that haven’t been tested for ocular tolerance.
Refining Your Personal Recipe
Once you master the basics of how to make DIY mascara, you can begin to customize your formula to suit your style. If you want a more dramatic look, you might increase the pigment load or add a tiny amount of natural resin for extra stickiness.
If you prefer a lash-tinting effect for a natural look, you can focus on conditioning oils with just a dusting of pigment. The beauty of the process is that you can adjust the viscosity to your preference.
Keep a simple notebook to track your experiments. Record the exact measurements of your beeswax pellets, oils, and pigments so you can replicate your favorite batch.
Note the temperature of the room when you made it, as this can affect how the wax sets. Over time, you will develop a “signature” mascara that works perfectly for your unique lashes, providing exactly the hold and finish you desire without any of the hidden chemicals found in mass-produced cosmetics.
Final Considerations for Your Natural Routine
Crafting your own beauty products is an empowering way to reclaim your daily routine from the complexities of the modern cosmetic industry. By choosing high-quality ingredients like shea butter and activated charcoal, you ensure that every application is free from synthetic additives that you would otherwise be applying to your eyes every day. While the process requires a bit of diligence regarding hygiene and shelf life, the payoff is a personalized, safe, and effective product that aligns with your values.
Start with small, manageable batches to avoid waste and ensure you are always using the freshest formula possible. Keep your tools clean, observe the shelf life of your ingredients, and enjoy the creative process of refining your recipe.
As you get more comfortable, feel free to experiment with different base oils to see what suits your lash texture best. Sharing your homemade creations with friends is also a wonderful way to encourage others to explore the benefits of natural, ingredient-conscious beauty.