
Many beauty enthusiasts find themselves wondering if they should curl their eyelashes before or after mascara to achieve that perfect, wide-eyed look. Getting the order of operations wrong can lead to brittle hairs, messy smudges, or lackluster results that don’t last through the day. By understanding how your eye makeup routine interacts with the physical structure of your lashes, you can easily avoid common pitfalls.
Mastering this simple step ensures your natural lash curl stays lifted while keeping your lashes healthy and strong. Whether you prefer a basic mechanical curler or a high-tech alternative, the timing of your application makes all the difference in achieving a professional finish.
Why Pre-Mascara Curling is the Industry Standard
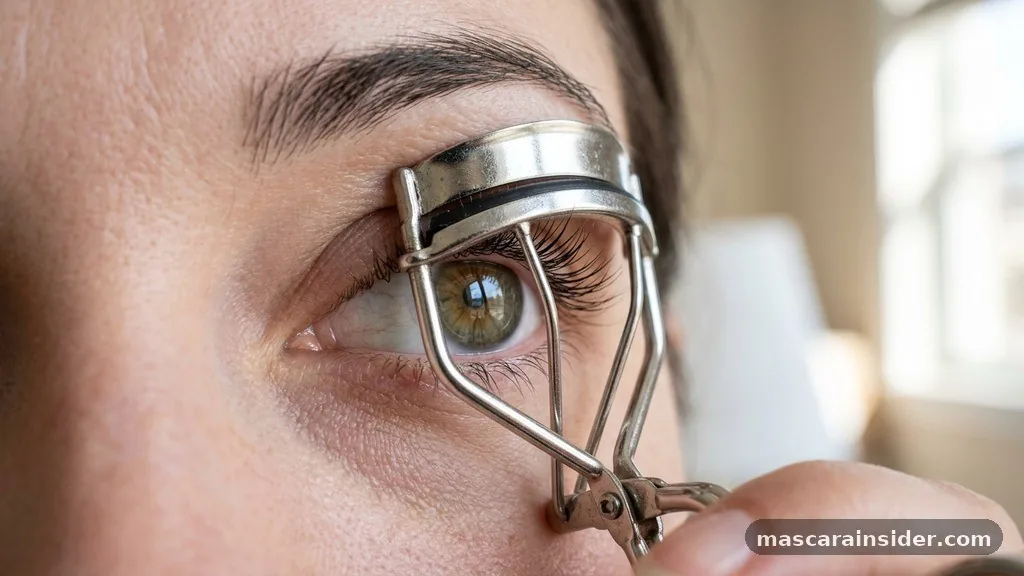
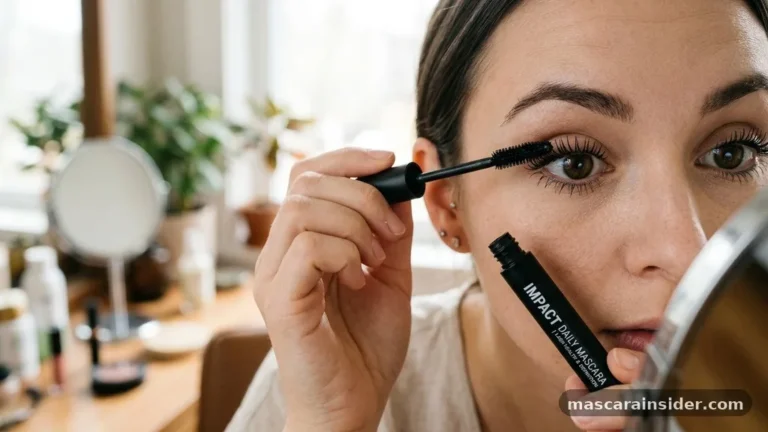
You should almost always curl your lashes before applying any product. When lashes are clean and dry, they are flexible and ready to be shaped without the risk of adhering to the tool.
Applying a mascara wand first creates a stiff, tacky coating that makes the hair prone to snapping when pressure is applied. By curling on bare lashes, you ensure the silicone pads on your tool grip the hair securely, creating a gentle, sweeping arc rather than a harsh, unnatural bend.
This method also prevents the dreaded “crimping” effect. When you clamp down on wet mascara, the product often transfers onto the metal frame of the tool, leading to a messy, uneven look.
Curling first provides a clean canvas, allowing the mascara to lock the curl in place once it dries. It is the most effective way to achieve a clump-free application because your lashes are separated and lifted before the pigment even touches them.
The Risks of Curling After Mascara
Attempting to curl your lashes after the product has dried is a dangerous habit for your lash health. Once mascara sets, it creates a rigid, brittle structure around each individual lash. Using a mechanical curler on these hardened lashes puts significant tension on the root, which frequently leads to lash breakage or even pulling out healthy lashes entirely.
Beyond the physical damage, curling after application ruins the aesthetic you worked so hard to build. The pressure of the tool will likely flatten the product, strip away some of the pigment, or cause the mascara to flake off onto your under-eye area. You might notice the following issues if you persist with this habit:
- Visible gaps or patches where mascara was stripped away by the metal frame.
- A “bent” or “crimped” appearance instead of a smooth, fanned-out curl.
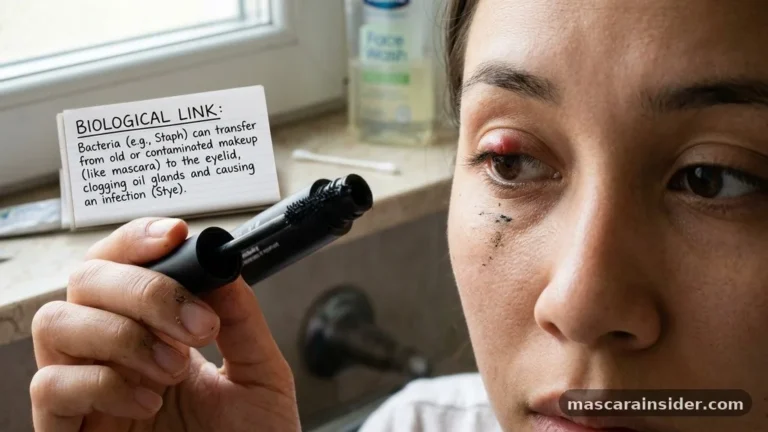
- Increased likelihood of eye irritation from loose, dried mascara flakes falling into your eyes.
- Rapid deterioration of your curler’s silicone pads due to product buildup.
Choosing the Right Tool for Your Lashes
Not all curlers are created equal, and the type of tool you choose can influence your success. Standard metallic curlers are the most common, but they require a steady hand and proper technique to avoid accidental pinching. If you struggle with the shape of traditional curlers, you might find that a different arc fits your eye shape better, preventing the “pinching” sensation that often occurs at the outer corners.
The Role of Heated Eyelash Curlers
A heated eyelash curler acts somewhat differently than a traditional manual device. Because heat helps to soften the keratin in the lash, it can create a more dramatic and long-lasting lift. However, you must still prioritize safety.
Using too much heat can dehydrate the lashes, making them brittle over time. Always ensure the device is at a low, safe temperature before bringing it near your eyelid.
| Tool Type | Best For | Key Benefit |
|---|---|---|
| Mechanical Curler | Everyday use | Provides immediate, consistent lift |
| Heated Curler | Stubborn, straight lashes | Longer-lasting hold via gentle heat |
| Mini/Detail Curler | Outer corners and short lashes | Precision reach without pinching |
Addressing Common Topical Gaps
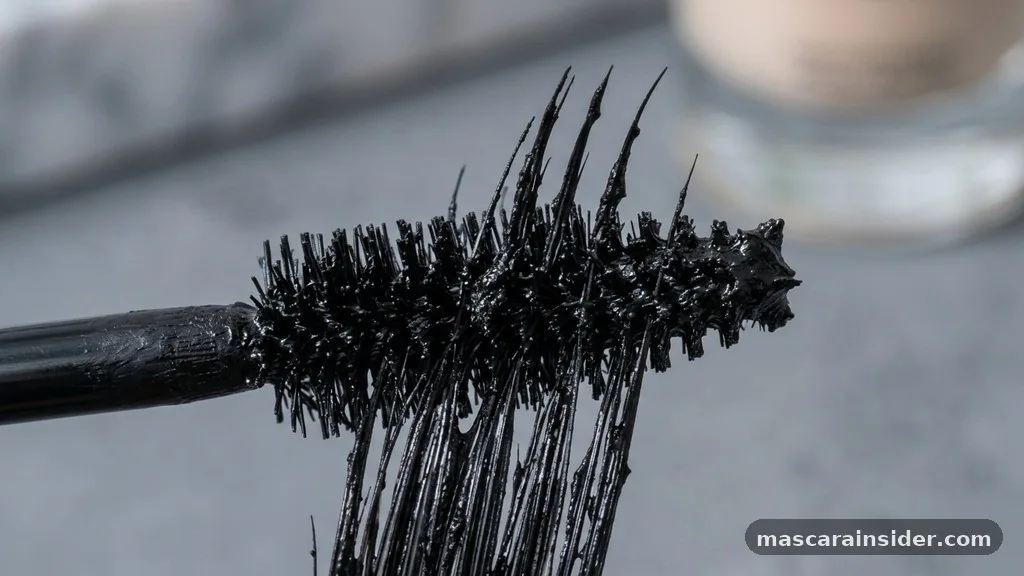
One frequent question involves whether waterproof mascara changes the rules of the game. Because waterproof formulas are designed to be extremely long-wearing and often contain waxes that set very quickly, they are even more dangerous to curl after application. You should never attempt to curl lashes coated in a waterproof formula, as the risk of breakage is significantly higher compared to standard, water-soluble products.
Another gap in common advice concerns beauty tool maintenance. Many people forget that dirty silicone pads can harbor bacteria and old product, which causes lashes to stick and pull during the curling process. You should wipe your curler with a bit of micellar water or rubbing alcohol at least once a week to ensure a smooth, clean grip.
If the pad on your curler has developed a deep groove or is starting to crack, it is time to replace it. A damaged pad is a leading cause of accidental lash cutting.
Techniques for a Professional-Grade Lift
To achieve the best results, start as close to the root as possible without touching your eyelid skin. Hold the curler in place for about five to ten seconds, then pulse gently—do not pump aggressively—as you move toward the tips of the lashes. This creates a soft, natural bend rather than a sharp angle.
If you find that your lashes lose their shape halfway through the day, you might consider a professional lash lift. This chemical treatment reshapes the lashes, providing a semi-permanent curl that stays put for weeks. It is a fantastic option if you want to skip the daily use of a curler altogether, though it still requires the use of mascara for added drama and color intensity.
Optimizing Your Routine for Longevity
Consistency is key when you want to maintain a lifted look without damaging your natural hairs. If you find yourself in a rush, it is better to skip the curling step entirely than to rush it and risk damaging your lash line. A well-maintained eye makeup routine should feel effortless, not like a chore that threatens the health of your eyes.
Always remove your mascara thoroughly at night. Leaving product on your lashes while you sleep makes them stiff and prone to breaking when you rub your eyes against a pillow.
Using a gentle oil-based cleanser will dissolve the mascara, leaving your lashes soft and flexible for the next morning. When your lashes are healthy, they respond much better to the curling process, holding their shape longer and requiring less pressure from your tools.
FAQ
Is it ever safe to curl after mascara?
No, it is never recommended because dried mascara makes lashes brittle and prone to snapping under pressure.
Can a heated curler be used after mascara?
Avoid using a heated eyelash curler on mascara, as it can melt the product and cause messy smudging.
Does curling lashes damage them?
Curling does not cause damage when done correctly on clean, dry lashes without excessive force or pinching.
How often should I replace my curler pads?
Replace your silicone pads every three months or sooner if you notice cracks, grooves, or hardening material.
What is the best way to clean my beauty tools?
Wipe the metal frame and pads with a cotton pad dipped in rubbing alcohol to remove buildup.
Do waterproof mascaras hold a curl better?
Yes, they often hold a curl longer, but they are unforgiving if you attempt to curl after application.
Should I curl my lashes every single day?
Daily curling is generally fine if you have a high-quality tool and use a gentle, pulsing technique consistently.
Final Thoughts on Lash Care
Achieving a beautiful, lifted look is all about respecting the delicate nature of your lashes. By consistently curling before your mascara application, you protect the hair from unnecessary stress and ensure a clean, long-lasting result. Remember that your tools are an extension of your technique; keeping them clean and in good working order is just as important as the product you choose to wear.
If you find your lashes are feeling weak, give them a break from the curler for a few days and focus on using a nourishing lash serum to restore their strength. By integrating these simple habits into your daily flow, you will keep your eyes looking bright and your lashes healthy for years to come. Feel free to share your favorite curling tips or reach out if you have more questions about your beauty routine.