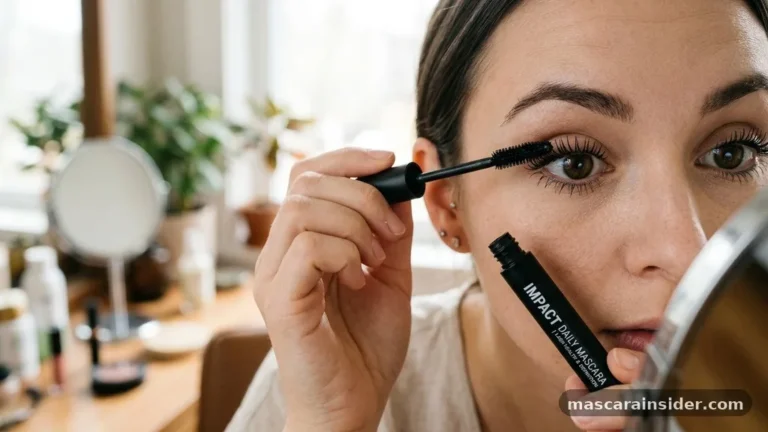

Learning how to make mascara from scratch offers a unique level of control over the ingredients touching your eyes daily. While commercial products often rely on complex synthetic polymers and heavy preservatives, a homemade version focuses on simple, nourishing components that define and darken lashes without the chemical burden.
Whether you are seeking a cleaner beauty routine or simply love the satisfaction of creating your own cosmetics, this process is surprisingly straightforward and deeply rewarding. By understanding the interaction between waxes, oils, and pigments, you can craft a custom formulation that suits your specific aesthetic preferences and skin sensitivities, providing a refreshing alternative to store-bought options that might otherwise irritate your delicate lash line.
Understanding the Core Components of Mascara
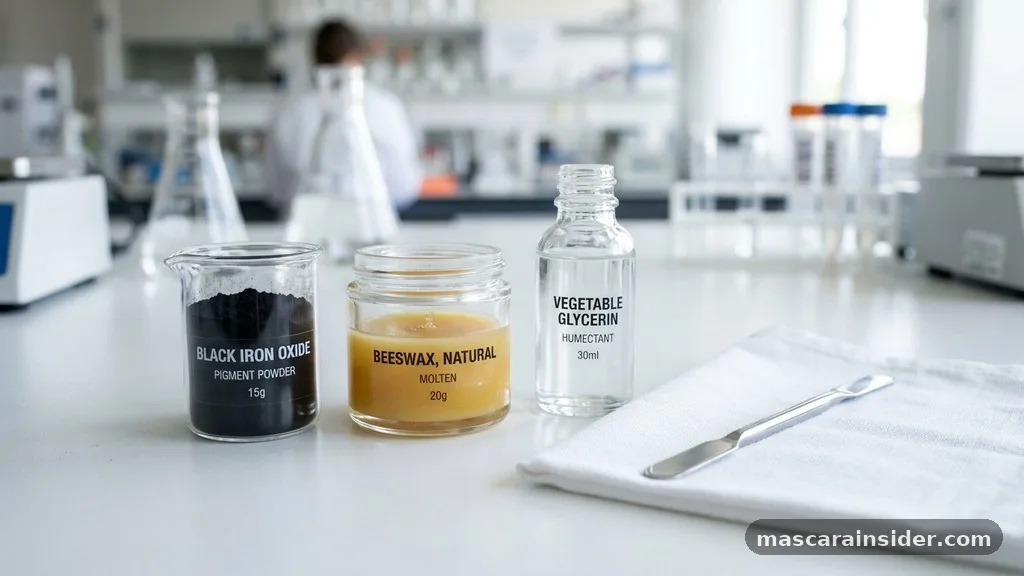
To successfully master how to make mascara, you must first understand the fundamental roles of its primary ingredients. Every effective formula requires a balance of three main categories: a thickening agent, a moisturizing carrier, and a colorant. Beeswax pellets serve as the structural backbone of the product, providing the necessary hold that keeps your lashes curled and prevents the formula from smearing throughout the day. Without a proper wax, your pigment would simply slide off the hair shaft upon contact with moisture.
The moisturizing element usually involves shea butter or coconut oil, both of which ensure the mascara remains pliable rather than brittle. When you apply pigment to your lashes, you want it to coat them smoothly, and these fats facilitate a creamy consistency that glides on easily.
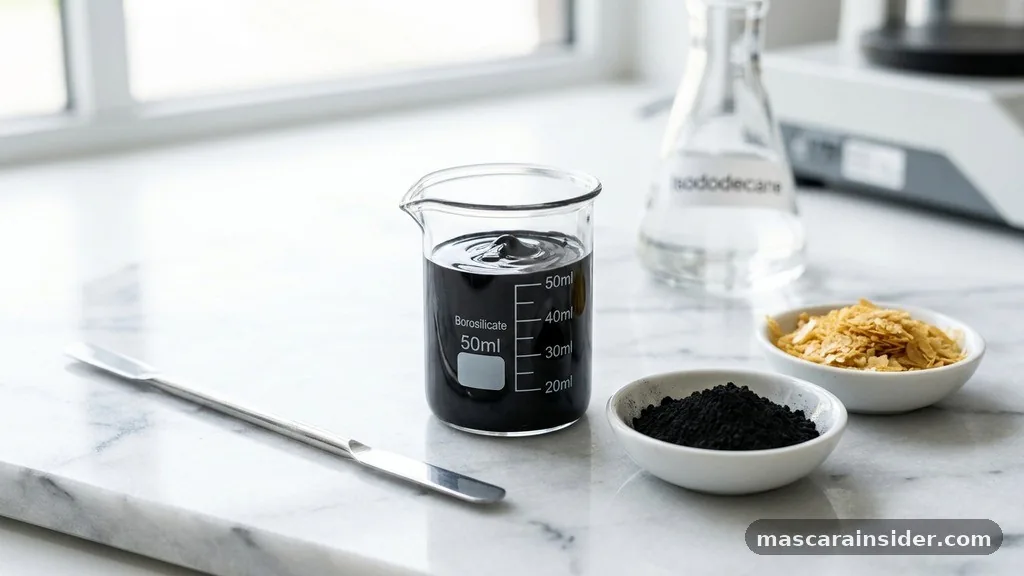
Finally, you need a high-quality pigment to provide the depth of color. While many DIY enthusiasts reach for activated charcoal, you can also experiment with cocoa powder for a softer brown hue or professional-grade iron oxides for a more intense, long-lasting black that mimics commercial standards.
Safety Protocols for Homemade Eye Cosmetics
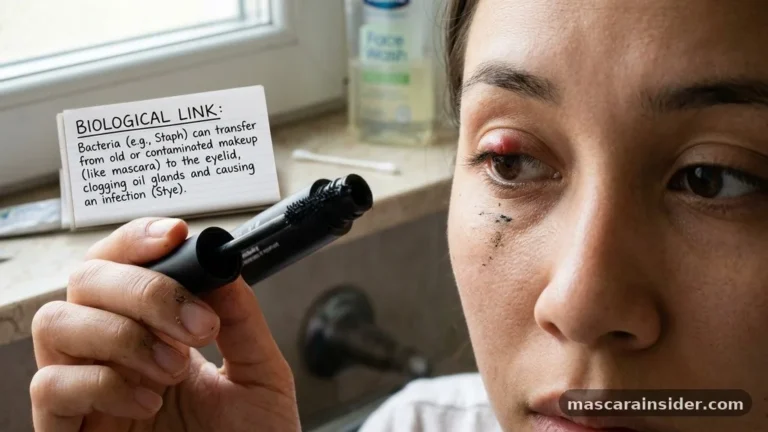
Safety should be your primary concern when working with products intended for the eye area. Because the eyes are highly susceptible to infection, you must ensure that every tool and surface used is sanitized before you begin the mixing process.
Using a sterile container is non-negotiable, as even trace amounts of bacteria can proliferate quickly in a moist, oil-based formula. If you are reusing an old mascara wand, it must be thoroughly cleaned with hot, soapy water and a disinfectant like high-proof rubbing alcohol, then allowed to air-dry completely before insertion.
Because these recipes are preservative-free cosmetics, they have a significantly shorter shelf life than store-bought varieties. You should expect your homemade batch to remain fresh for only two to four weeks. If you notice any change in odor, color, or texture, discard the product immediately.
Never share your homemade mascara with others, as this is the fastest way to transmit eye infections. Keeping your workspace pristine and monitoring the state of your product ensures that your journey into DIY beauty remains a positive and healthy experience.
The Chemistry of Natural Emulsifiers and Binding
The secret to a smooth application lies in how well your ingredients emulsify. In commercial manufacturing, companies use complex natural emulsifiers to bind water and oil, but in a home kitchen, you are primarily working with an oil-based formula. This means you are essentially creating a stable paste.
To achieve the perfect texture, you must melt the beeswax and fats together slowly using a double boiler method. Applying direct heat can scorch these delicate ingredients, altering their properties and potentially causing them to separate later on.
Once the waxes and oils are fully liquified, you incorporate your pigments. If the mixture cools too quickly, the pigment may clump, resulting in a gritty mascara that flakes off your lashes. Stirring consistently as the mixture begins to thicken is the best way to ensure a uniform distribution of color.
This phase of the process is where you can adjust the viscosity; if the formula feels too stiff, add a tiny drop of oil. If it is too runny, a few extra beeswax pellets will help provide more body and grip for the lashes.
Essential Tools for Consistent Results
Having the right equipment makes the difference between a frustrating mess and a professional-looking product. Beyond your ingredients, you need a small, heat-safe glass bowl or beaker for melting, a silicone spatula for scraping down the sides, and a precise scale if you want to replicate your results accurately. Because you are working with small volumes, even a half-gram difference in pigment can change the intensity of your black or brown mascara.
| Tool | Purpose |
|---|---|
| Double Boiler | Gently melts wax without burning |
| Silicone Spatula | Ensures no pigment is left behind |
| Glass Beaker | Allows for easy pouring into tubes |
| Precision Scale | Maintains ingredient ratios for consistency |
Once the base is prepared, transferring it into a tube requires patience. A small funnel or a piping bag made from a plastic sandwich bag with the corner snipped off can help you fill the container without creating a mess. Always leave a small amount of space at the top of the tube to accommodate the wand, as overfilling will lead to the product spilling out every time you pull the brush out for application.
Selecting Pigments for Desired Color Intensity
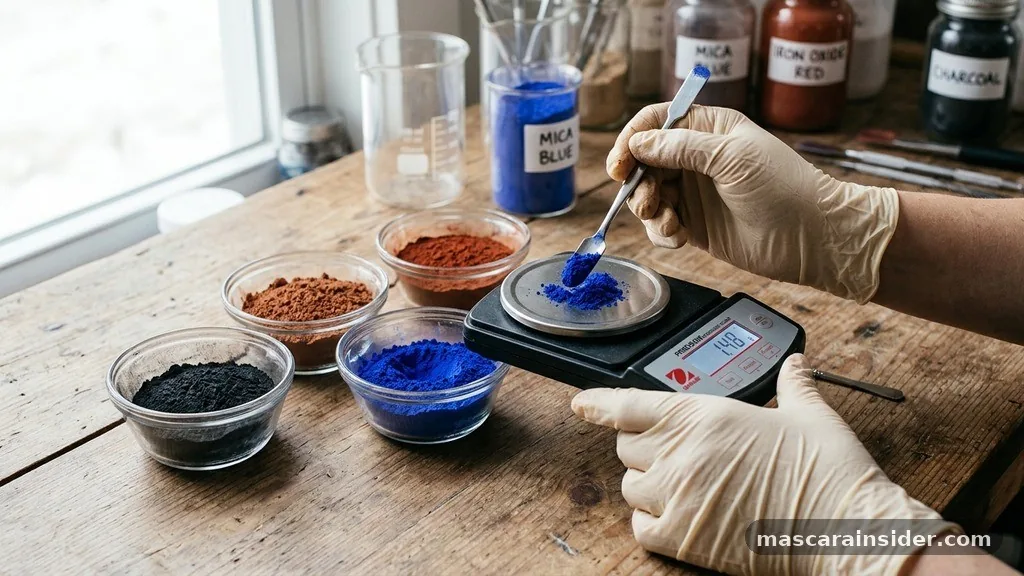
Choosing the right pigment is where you define the look of your mascara. Activated charcoal is the most common choice for a deep, dramatic black, but it can be slightly drying if used in high concentrations. If you find charcoal too intense or irritating, consider using cosmetic grade pigments specifically formulated for skin safety. These powders are finely milled, which prevents the “grit” factor that often plagues beginner DIY projects.
For those who prefer a more natural, everyday look, cocoa powder is a fantastic alternative. It provides a warm, rich brown that is much more forgiving than harsh black. You can also mix these pigments to create custom shades, such as a soft charcoal-brown or a deep espresso.
Always ensure that the pigments you purchase are labeled as safe for use around the eyes. Avoid using craft store pigments or food coloring, as these may contain dyes that are not approved for mucosal contact and could cause significant allergic reactions or staining.
Addressing Topical Gaps: Why DIY Mascara Differs from Retail
Many beginners find that their homemade mascara doesn’t perform exactly like the expensive versions they buy in stores. This is primarily because commercial products are engineered with film-forming polymers and synthetic waxes that provide extreme water resistance and lengthening capabilities.
When you make your own, you are working with natural materials that do not have the same “staying power.” Understanding this gap helps manage expectations.
Another common issue is the lack of synthetic thickening agents, which can lead to a thinner consistency. You can bridge this gap by incorporating bentonite clay in very small amounts. The clay acts as a bulking agent, providing volume to the lashes without the need for heavy synthetic chemicals.
It also helps the pigment cling to the hair shaft more effectively. While your DIY version may not survive a swim or a heavy rainstorm, it will provide a clean, non-toxic look that is much kinder to your lashes in the long run.
Tips for Better Lash Application and Longevity
Even the best formula will fail if the application technique is lacking. When using a natural mascara, you should apply it in thin, buildable layers rather than one thick glob.
Start at the base of your lashes and wiggle the mascara wand back and forth as you pull it toward the tips. This motion helps coat every single lash and ensures that the wax-based formula is distributed evenly.
To improve the longevity of your look, consider using a lash primer or even a tiny dusting of translucent powder on your lashes before application. This creates a dry surface for the oils in the mascara to grip. If you find your mascara smudging under your eyes, try applying it only to the top lashes.
This is a common trick used by professional makeup artists to keep the eyes looking bright and clear throughout the day. Remember that because you aren’t using industrial-strength film formers, you may need to avoid rubbing your eyes throughout the day to keep the look intact.
Common Troubleshooting for Texture Issues
If your mascara turns out too thick, it is likely that your ratio of beeswax to oil is slightly off. Simply return the mixture to the double boiler and add a half-teaspoon of carrier oil, such as jojoba or almond oil, to loosen the texture.
Conversely, if the formula is too thin and tends to run, you need more structure. Adding a few extra beeswax pellets will increase the melting point and the thickness of the final product, helping it hold its shape on your lashes.
Sometimes, the pigment may settle at the bottom of the tube over time. This is natural for DIY formulas that lack chemical stabilizers. To fix this, simply give the tube a quick shake or stir it with the wand before each use.
If the product starts to feel “tacky” or sticky, it might be an indication that the shea butter is melting too easily in warm weather. Storing your mascara in a cool, dark place, such as a bathroom drawer rather than a sunny windowsill, will keep the consistency stable and extend the usability of your batch.
Integrating Natural Ingredients for Lash Health
The beauty of knowing how to make mascara is the ability to infuse it with ingredients that actively support lash growth and health. While you are mixing your base, consider adding a drop of vitamin E oil or castor oil. Castor oil, in particular, is widely celebrated in the beauty world for its ability to condition the hair follicles, potentially leading to stronger, healthier-looking lashes over time.
By choosing high-quality, organic ingredients, you are essentially treating your lashes to a deep conditioning mask every time you apply makeup. This is a massive departure from commercial formulas that often contain alcohol and other drying agents that can make lashes brittle and prone to breakage.
Over time, many people who switch to natural, oil-based mascara notice that their natural lashes feel softer and look fuller. This holistic approach turns a simple cosmetic ritual into a genuine form of self-care, proving that you don’t need a lab-grade facility to achieve beautiful, healthy results.
Conclusion
Creating your own mascara is a rewarding exercise in understanding the chemistry behind the products we use every day. By carefully balancing beeswax, nourishing oils, and high-quality pigments, you can develop a formula that aligns with your personal beauty standards while avoiding the harsh synthetics found in many mass-produced items. Remember that the process requires patience, strict adherence to sanitation protocols, and a willingness to experiment with ratios until you find your perfect texture.
As you refine your technique, you will gain a deeper appreciation for the simplicity of natural beauty. We encourage you to start with a small batch, test your formulation, and enjoy the process of customizing your look. Your journey into DIY cosmetics is just beginning, and your lashes will surely thank you for the extra care and attention.
Is it safe to use homemade mascara every day?
Yes, if you maintain strict sanitation and replace the product every two to four weeks to avoid bacteria.
Can I use cocoa powder instead of activated charcoal?
Yes, cocoa powder is a safe, natural alternative that provides a softer, brown color for a natural look.
Why does my DIY mascara smudge easily?
Natural formulas lack synthetic film-formers, so avoid rubbing your eyes and apply in thin, buildable, dry layers.
How do I clean my mascara wand for reuse?
Wash it thoroughly with hot, soapy water, disinfect with rubbing alcohol, and let it air-dry completely before use.
Can I add essential oils to my mascara?
Avoid adding essential oils, as they can cause severe irritation or allergic reactions when applied near the eyes.
Does homemade mascara grow my lashes?
Ingredients like castor oil can condition lashes, potentially making them appear healthier and stronger with consistent use.
What is the best way to store homemade mascara?
Keep it in a cool, dark place to prevent the oils from melting and to maintain the product’s consistency.