
Many beauty enthusiasts find themselves debating whether you curl your lashes before or after mascara application to achieve the perfect eye-opening effect. While personal preference often plays a role, understanding the mechanics of your eyelash curler and the composition of your products can prevent damage and improve your results. Curling before you apply any product ensures the tool grips the natural lash securely, whereas curling after risks structural damage and messy residue.
Mastering this small step in your eye makeup routine is the secret to a professional-looking, wide-awake gaze that lasts all day. Let’s dive into why the order matters and how to protect your lash health.
The Risks of Curling After Applying Mascara
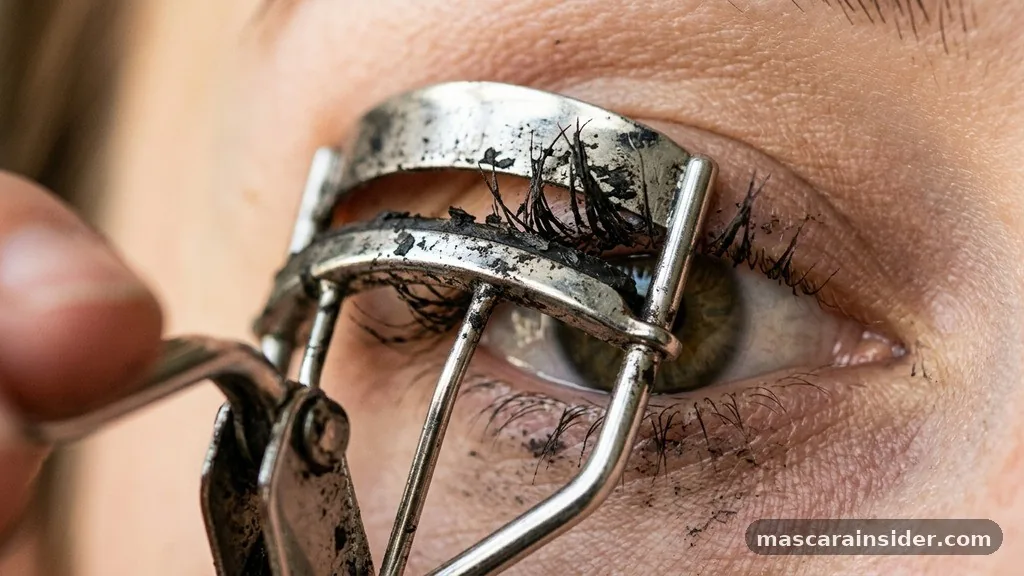
The most common mistake beginners make is attempting to use an eyelash curler on lashes already coated in product. When you apply mascara application layers first, the formula creates a rigid, semi-solid structure around the hair shaft.
Once this product dries, the lashes lose their natural flexibility. Attempting to force them into an upward curl while they are stiff often leads to lash breakage or, at the very least, lashes that look crimped rather than softly lifted.
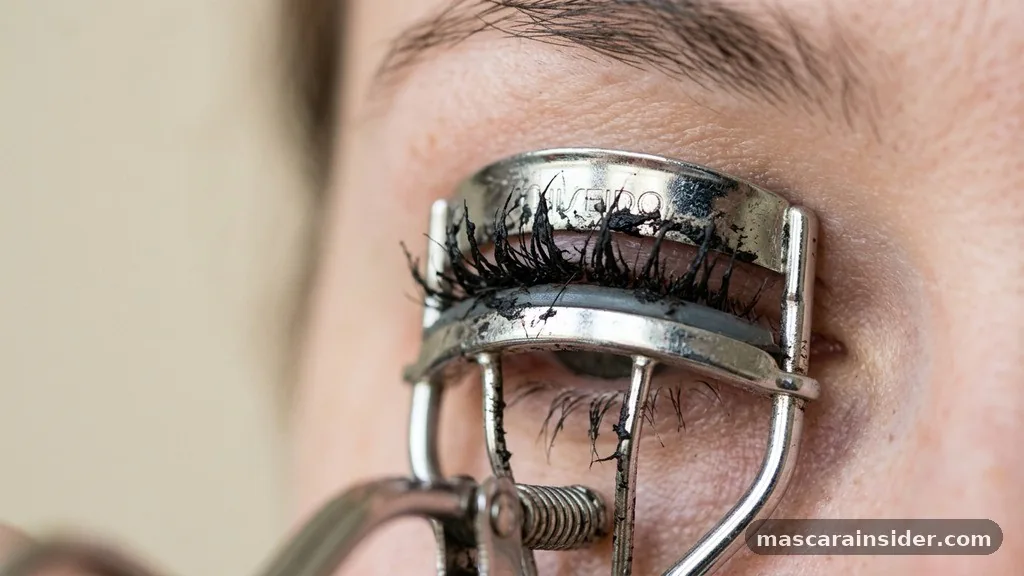
Beyond the physical damage, using a tool on wet or tacky product creates a significant mess. The mascara wand deposits pigment that needs time to set; if you clamp down with a metal tool immediately, you will likely pull off chunks of product.
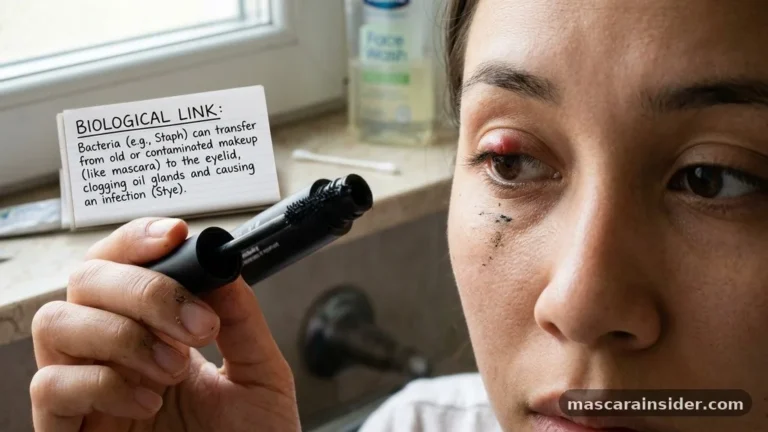
This results in clumped lashes that look uneven. Furthermore, the residue left on the silicone padding of your curler will eventually harden, making it difficult to clean and potentially harboring bacteria that could lead to eye irritation or infections.
Why Pre-Mascara Curling is the Industry Standard
Professional makeup artists almost universally agree that curling lashes before adding any pigment is the safest and most effective method. By starting with clean, bare lashes, you ensure that the eyelash curler can get as close to the root as possible without slipping. This placement is vital for creating a lasting, natural-looking lift that starts at the base rather than the middle of the hair.
When you curl before your eye makeup routine begins, you are working with the lashes in their most pliable state. They are soft, supple, and ready to be shaped.
Once you have achieved that desired curve, the mascara acts as a setting agent. By choosing a formula that holds shape, you essentially freeze the curl in place, providing structural support that keeps your lashes lifted from morning until night.
Technique Matters: Getting the Perfect Lift
Even if you know the correct order, your technique dictates how well the curl holds. Start by positioning the eyelash curler at the very base of your upper lashes, ensuring you don’t catch your eyelid skin in the process.
Gently squeeze the handles together and hold for about five to ten seconds. Avoid pulling or tugging, as this can weaken the hair follicles over time.
For a more natural, voluminous look, try a “pump” technique. Instead of one long squeeze, pulse the tool three or four times while slowly moving toward the tips of the lashes. This creates a soft, rounded bend rather than a sharp, unnatural angle.
If you struggle with lashes that fall flat quickly, consider using a heated eyelash curler. The gentle warmth helps set the shape more effectively, similar to how a curling iron works on the hair on your head.
How to Maintain Lash Health
Daily use of mechanical tools can be taxing on delicate hair, so prioritizing lash health is essential. Always ensure the silicone padding on your curler is in good condition; if it has a deep groove or is missing, the metal edge can act like a pair of scissors and cut your lashes. Replace these pads every three months to keep the surface smooth and protective.
Avoid over-curling or crimping too hard. Some people believe that more pressure equals a better curl, but this is a misconception. Consistent, gentle pressure is far more effective than an aggressive squeeze.
If you notice lashes falling out on the pad, you are likely applying too much force or pulling at the wrong angle. Treat your lashes with the same care you would give your hair, and they will remain strong and resilient.
The Role of Mascara Formulation
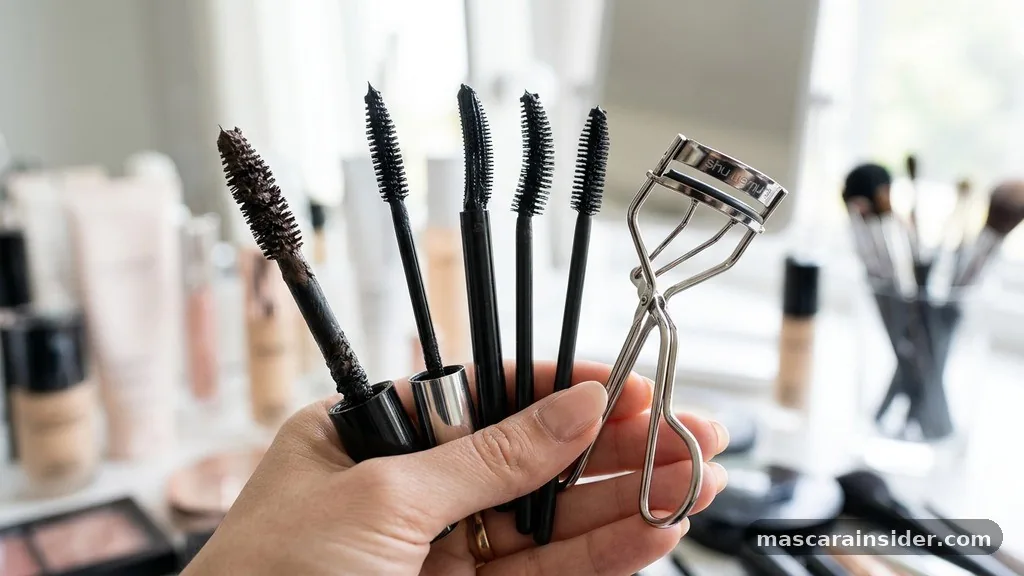
Not all mascaras are created equal when it comes to holding a curl. Waterproof formulas are generally superior for maintaining an upward curl because they contain waxes and volatile solvents that dry quickly and remain rigid throughout the day. If you have naturally straight or stubborn lashes, a waterproof mascara is often the only way to lock in the shape you created with your tool.
Conversely, some lightweight, tubing mascaras are excellent for length but can be too heavy or hydrating, causing the curl to droop shortly after application. When selecting your products, look for terms like “volumizing” or “curling” on the label. These specific formulas are engineered to be lightweight enough to support the lift without weighing the hair down.
| Feature | Pre-Mascara Curling | Post-Mascara Curling |
|---|---|---|
| Lash Health | Low risk of breakage | High risk of breakage |
| Resulting Look | Natural, consistent lift | Clumpy, crimped, uneven |
| Tool Maintenance | Clean, hygienic tool | Sticky, bacteria-prone tool |
| Ease of Use | Easy to position at root | Difficult and messy |
Addressing Common Topical Gaps
Many readers ask if there is ever a situation where curling after is appropriate. While the standard advice is to avoid it, some people use a very gentle touch-up with a heated eyelash curler after the product has completely dried.
This is only recommended if you are using a very light, non-sticky formula. Never use a standard metal clamp on dried mascara, as the brittleness of the product will almost certainly lead to snapping.
Another common question involves the use of lash adhesive or false lashes. If you are wearing falsies, you should always curl your natural lashes before applying the strip.
Trying to curl natural lashes and false lashes together can ruin the band of the falsies and pull them away from your eyelid. Always focus on your natural lashes first, then apply your false lashes to provide a sturdy shelf for them to sit on.
When to Consider a Lash Lift
If you find that the daily ritual of using an eyelash curler is too time-consuming or if your lashes simply refuse to hold a curl, a professional lash lift might be a better alternative. This chemical process semi-permanently shapes your natural lashes, lasting anywhere from six to eight weeks. It effectively eliminates the need for daily mechanical curling.
Even with a professional service, you can still use mascara to enhance the look. However, because the lashes are already lifted, you will find that the mascara application process becomes much faster and less prone to clumping. Many people who get lifts find that they only need a single coat of product, as the lift itself provides the necessary drama and definition that most people seek.
Essential Tools for Your Beauty Kit
To achieve the best results, you need high-quality cosmetic tools. A well-calibrated eyelash curler that fits your eye shape is an investment that pays off.
Not all eyes are the same; some are more rounded while others are almond-shaped. Finding a tool with the right arc ensures you can catch all your lashes at once, from the inner corner to the outer edge.
In addition to the curler, a high-quality lash comb is an indispensable item. After applying your mascara, using a metal lash comb can separate any stubborn clumped lashes and ensure a clean, fanned-out look. Keep your tools organized in a clean pouch to prevent dust and debris from accumulating, which helps maintain the longevity of your products and the hygiene of your eyes.
- Invest in a high-quality curler that fits your eye shape perfectly.
- Replace silicone pads every 90 days to prevent lash damage.
- Always curl on clean, dry, product-free lashes.
- Use a waterproof mascara if you struggle with lashes falling flat.
- Clean your tools regularly with mild soap and water to prevent bacteria buildup.
- Consider a professional lash lift if you want a long-term solution.
- Use a lash comb to finish your look and remove any excess product.
Common Troubleshooting Tips
Sometimes, despite your best efforts, your lashes might still droop. This often happens if the lashes are oily.
Before you start your eye makeup routine, use a gentle oil-free cleanser or a micellar water to wipe down your eyelids and lashes. Removing natural oils ensures the curl holds better and prevents the mascara from smudging or transferring onto your brow bone.
If you find that your lashes are too short to curl effectively, focus on the mascara formula rather than the tool. Lengthening mascaras with fine bristles on the mascara wand can help grip the shorter hairs at the base, creating an illusion of lift without the need for intense mechanical pressure. Experimenting with different wand shapes—such as curved or tapered brushes—can also make a significant difference in how much lift you can achieve manually.
Frequently Asked Questions
Can I use a hair dryer to heat my eyelash curler?
Using a hair dryer to warm your curler is risky; it can easily overheat and cause painful skin burns.
Is it ever safe to curl after applying mascara?
Only if the mascara is completely dry and you are using a heated tool, but it remains generally discouraged.
How do I know if my eyelash curler fits my eye?
A well-fitting curler should reach all lashes in one go without pinching the skin or feeling too wide.
Does curling my lashes cause them to fall out?
Proper, gentle curling should not cause loss; however, tugging or using a damaged pad will lead to breakage.
How often should I replace my eyelash curler?
You should replace the entire curler every year, but change the silicone pads every three months for safety.
Will waterproof mascara hold a curl better?
Yes, waterproof formulas contain waxes that lock in the curl shape much better than standard water-based formulas.
Can I curl my lashes every single day?
Yes, provided you are gentle, use a clean tool, and do not apply excessive pressure to the lash base.
Ultimately, the debate over whether you curl your lashes before or after mascara is settled by the need for safety and consistency. Curling before you begin your mascara application protects the integrity of your lashes, prevents unsightly clumping, and ensures that your tools remain clean. By following these steps and maintaining your equipment, you can enjoy a beautifully lifted look that enhances your natural features without causing unnecessary damage.
Practice your technique, choose the right formulas for your lash type, and you will find that a simple, consistent routine is all you need to keep your eyes looking bright and awake. If you found these tips helpful, try adjusting your morning routine tomorrow and see the difference for yourself.