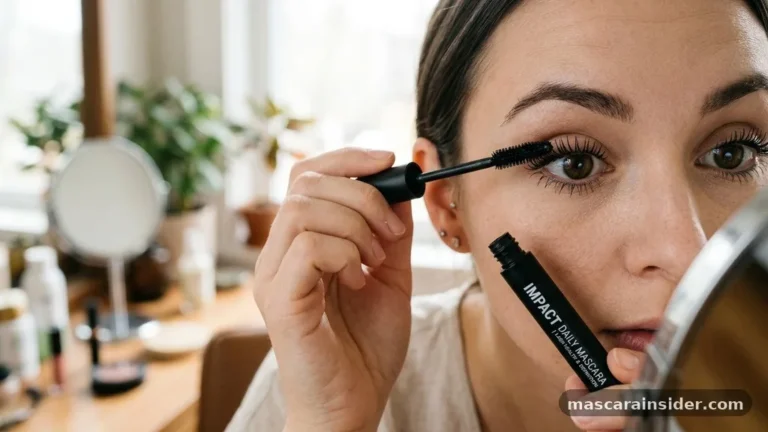

Learning how to make your own mascara is a rewarding project for anyone interested in cleaner beauty routines. By sourcing your own components, you gain full control over the chemical profile of a product that sits directly on your lash line.
Whether you are aiming to avoid specific synthetic polymers or simply want to experiment with a more sustainable lifestyle, crafting a custom lash tint allows for significant customization. This process emphasizes quality ingredients like natural waxes and pigments, ensuring that you know exactly what is going into your eyes every morning.
Understanding the Core Components of Mascara
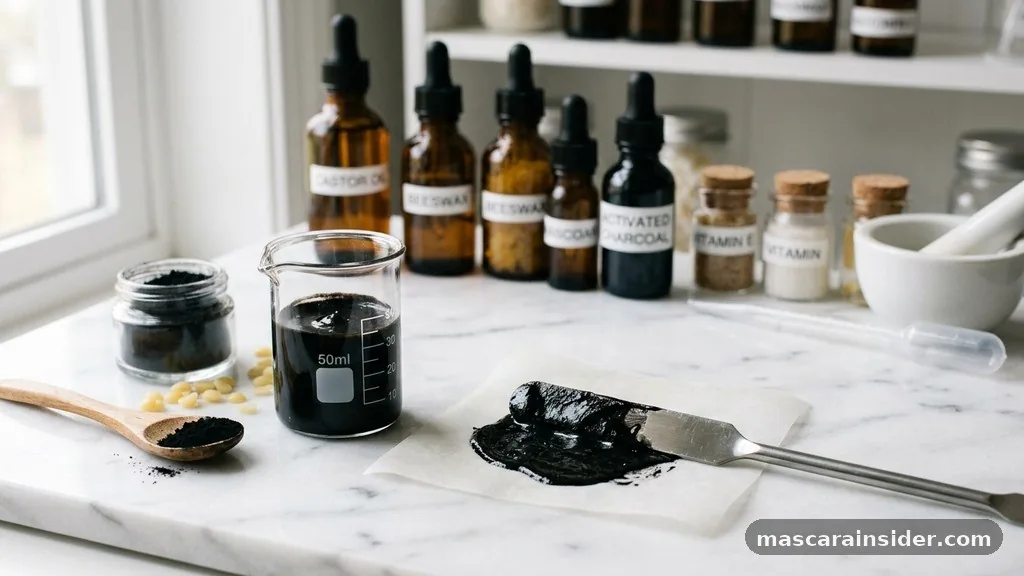
At its simplest, mascara is an emulsion of waxes, oils, and pigments designed to coat and darken lashes. When you learn how to make your own mascara, you are essentially mimicking the properties of commercial formulas while stripping away unnecessary fillers. The base provides structure, the oil offers moisture, and the pigment delivers the desired color intensity.
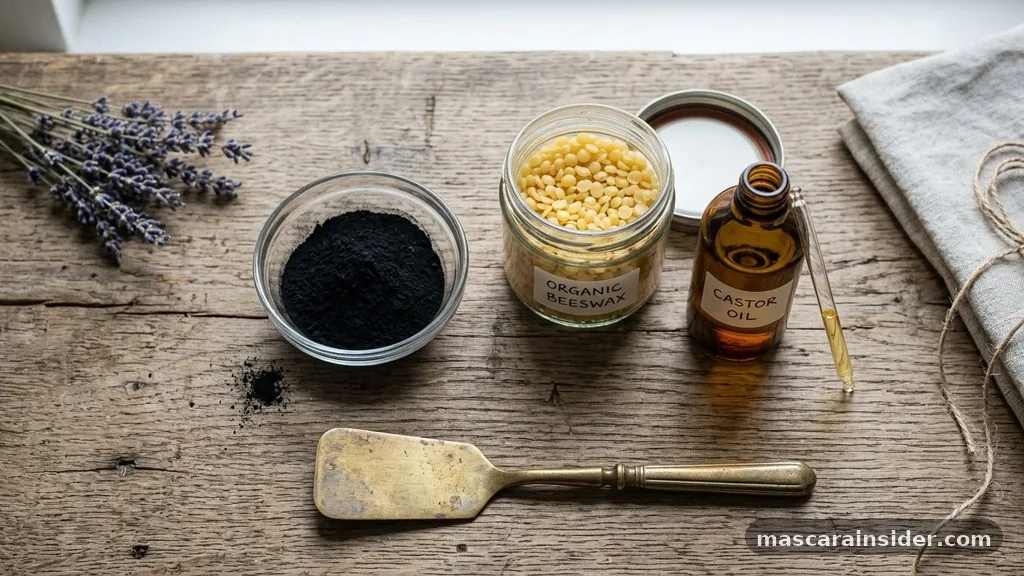
Most DIY recipes rely on a combination of cosmetic grade beeswax or plant-based waxes to provide the necessary grip. Without a reliable wax base, the formula will smudge easily or fail to adhere to the hair shaft. You must also balance these ingredients to ensure the final product isn’t too thick or prone to flaking throughout the day.
Essential Ingredients for Your DIY Formula
To build a functional mascara, you need a balance of binding agents and nourishing oils. Using high-quality, safe ingredients is the most effective way to prevent eye irritation and ensure the product remains stable for as long as possible.
* Activated charcoal: Used as a primary black pigment.
* Cosmetic grade beeswax: Acts as the structure and water-resistant agent.
* Shea butter: Provides a creamy texture and conditions the lashes.
* Coconut oil: Helps with smooth application and prevents the formula from drying out.
* Aloe vera gel: Acts as a soothing agent and helps with consistency.
* Vitamin E oil: Functions as a mild antioxidant to protect the oils from rancidity.
Step-by-Step Production Process
The actual assembly is straightforward, but it requires precision to achieve the correct emulsification. You will need a double boiler to melt your waxes and butters safely without burning them.
Start by placing your beeswax, shea butter, and coconut oil into the top portion of the double boiler. Once they are fully melted and transparent, remove them from the heat.
Carefully stir in your activated charcoal or other food grade pigment until the color is uniform and free of clumps. If you are adding aloe vera gel, incorporate it slowly at the very end to ensure it blends well with the oil-based mixture.
Once the mixture reaches a thick, paste-like consistency, transfer it into a sterile container. Using a small syringe or a piping bag can help minimize the mess while filling your mascara tube. Always use a clean mascara wand spoolie to test the consistency before final storage.
Managing Shelf Life and Safety
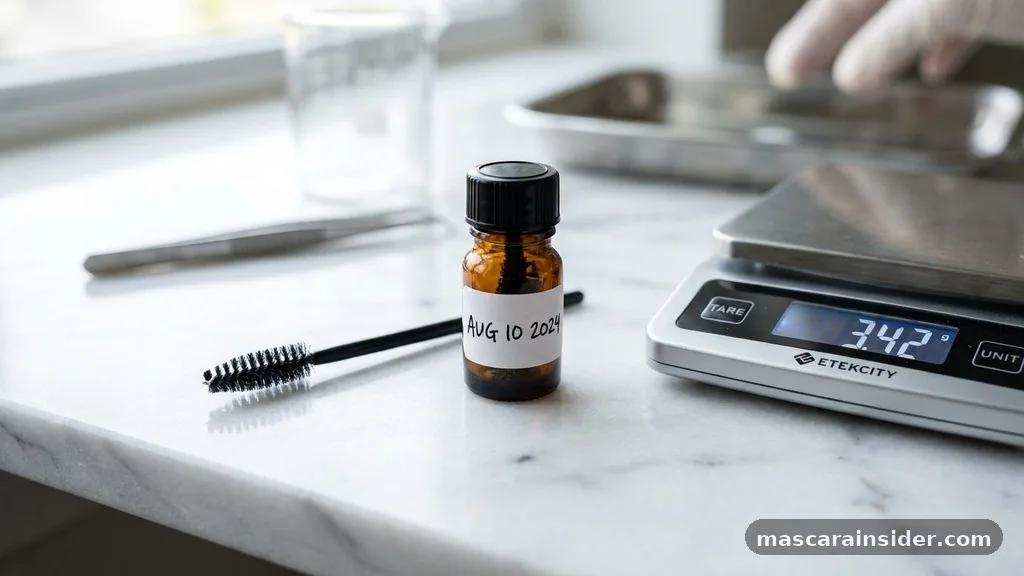
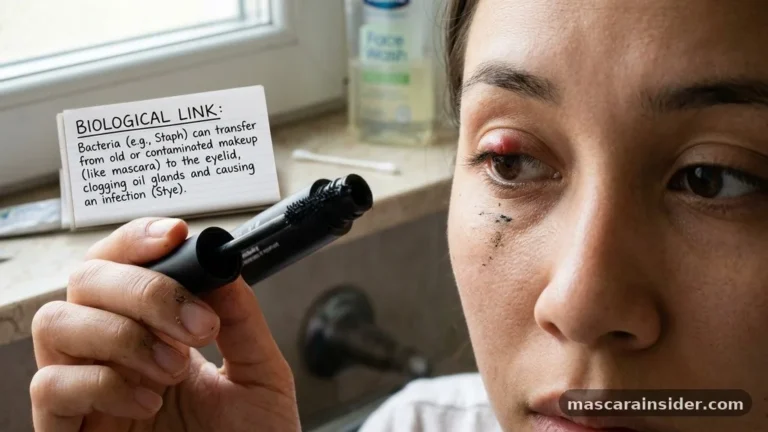
Because you are creating a water-based or oil-based product at home, you must be realistic about the shelf life. Commercial products contain strong chemical preservatives that keep them shelf-stable for months. Homemade versions lack these, meaning they are prone to bacterial growth much faster.
You should aim to use your handmade product within two to four weeks. If you notice any change in scent, color, or texture, discard it immediately.
Because you are not using professional-grade preservatives, the product is essentially a fresh food item for your eyes. Keeping your tools clean and using only sterile containers will significantly reduce the risk of introducing bacteria to the mixture.
| Ingredient Category | Purpose | Common Substitute |
|---|---|---|
| Binding Agent | Structure and grip | Candelilla wax (vegan) |
| Pigment | Color intensity | Iron oxides (mineral) |
| Conditioner | Nourishment | Jojoba oil |
| Thickener | Texture control | Bentonite clay |
Addressing Common DIY Challenges
Many people struggle with the texture of their first batch. If your mascara is too runny, you likely need a higher ratio of wax.
If it is too stiff, add a few extra drops of coconut or jojoba oil. Another common issue is clumping, which often happens if the activated charcoal isn’t fine enough or wasn’t sifted properly.
Why Your Homemade Mascara Might Flake
Flaking usually occurs when the wax-to-oil ratio is unbalanced. If the formula is too dry, it cannot flex with your lashes during the day. Ensure you are using cosmetic grade beeswax and not raw honeycomb, which can contain debris.
Additionally, adding a tiny amount of vitamin E oil can help keep the mixture supple. If you find the formula is still flaking, try reducing the amount of bentonite clay if you have included it in your recipe, as excessive powder can lead to brittleness.
Refining Your Technique
Achieving a professional finish when learning how to make your own mascara involves practice. You might find that your first few batches are either too thick or too thin. Keep a notebook of your measurements so you can adjust your recipe in the next batch.
Remember that temperature plays a massive role in how these ingredients behave. Working in a cool, clean environment will help you maintain the integrity of the formula as you pour it into your containers.
Always prioritize the cleanliness of your workspace. Even if you are using natural ingredients, bacteria can thrive in warm, damp environments.
Sanitize your mixing bowls, spatulas, and the final storage tubes with high-proof alcohol before you begin. This simple step is the most effective way to protect your eyes from potential infections.
Common Questions About DIY Mascara
What is the best natural substitute for mascara?
Many people use a thin mixture of cocoa powder and aloe vera gel for a gentle, temporary lash tint.
What are the essential ingredients to make mascara?
The core ingredients include a wax base like beeswax, an oil for moisture, and a pigment like activated charcoal.
How do I make mascara without using mascara?
You can use a clean spoolie dipped in a tiny amount of castor oil to darken and condition your lashes.
What can I use as a natural mascara alternative?
A mixture of bentonite clay, water, and iron oxide is a common DIY base for natural, smudge-proof lash applications.
Is it safe to make mascara at home?
It is safe if you maintain strict hygiene, use sterile containers, and discard the product after a few weeks.
Can I make mascara without beeswax?
Yes, you can substitute beeswax with candelilla or carnauba wax to achieve similar structural results in your homemade formula.
How long does homemade mascara last?
Without professional preservatives, your homemade mascara should be discarded after two to four weeks to avoid bacterial contamination issues.
Learning how to make your own mascara is a journey of trial and error that rewards patience. By carefully selecting your materials, such as high-quality shea butter and fine activated charcoal, you can create a product that aligns with your personal values. While the lack of commercial preservatives means you must be diligent about hygiene and quick usage, the trade-off is a product you can trust.
Start with small batches to refine your preferred consistency and color depth. As you get more comfortable with the process, you may find that the simple act of preparing your own beauty supplies becomes a relaxing and empowering part of your weekly routine. Feel free to experiment with different pigment ratios to find the look that best suits your style.