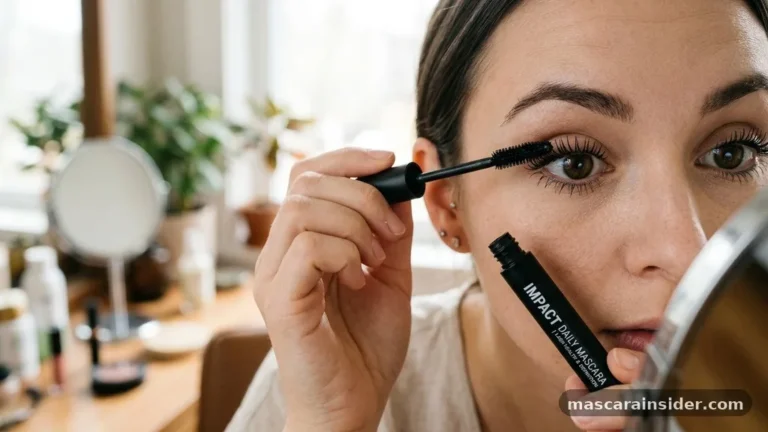

Mastering the art of applying mascara is one of the most effective ways to instantly brighten your eyes and define your gaze. While it might seem like a simple daily ritual, achieving a professional, clump-free finish requires a bit of technique and the right tools.
Whether you are aiming for a natural, everyday look or a dramatic, voluminous effect, understanding the mechanics of your lashes and the product itself can transform your makeup routine. This breakdown explores how to apply mascara with precision, ensuring you avoid common pitfalls like smudging or flaking while maximizing your natural lash potential.
Preparing Your Lashes for Optimal Results
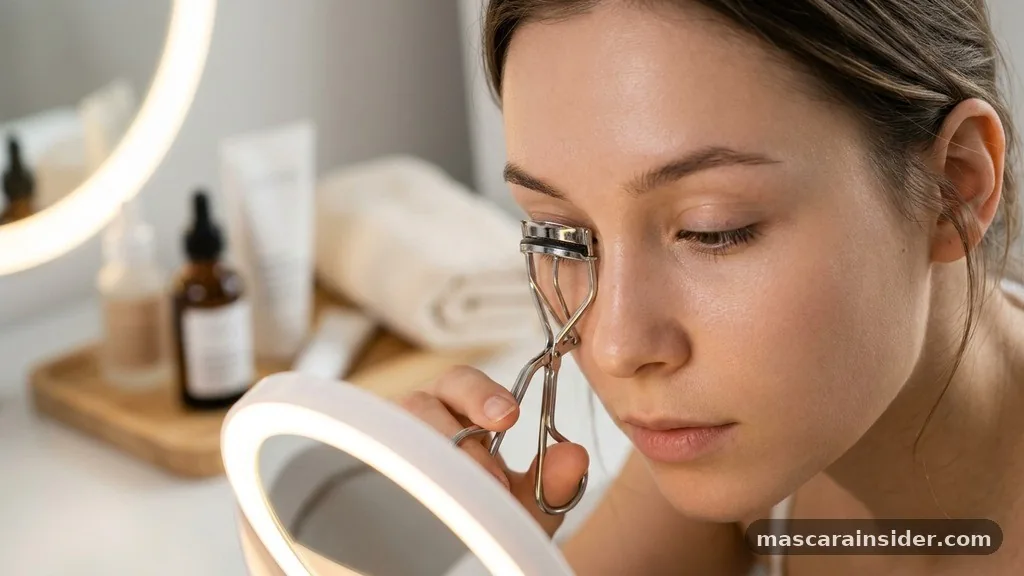
Before you even touch your mascara wand, the condition of your lashes determines how well the product will sit. A clean canvas is non-negotiable, as residual oils or old makeup will inevitably lead to flaking and premature smudging.
Start by ensuring your eyelids and lashes are completely free of debris from the previous day. Using a gentle, oil-free cleanser is the best way to prep the area, as it removes stubborn remnants without leaving an oily film that could prevent the mascara from adhering correctly.
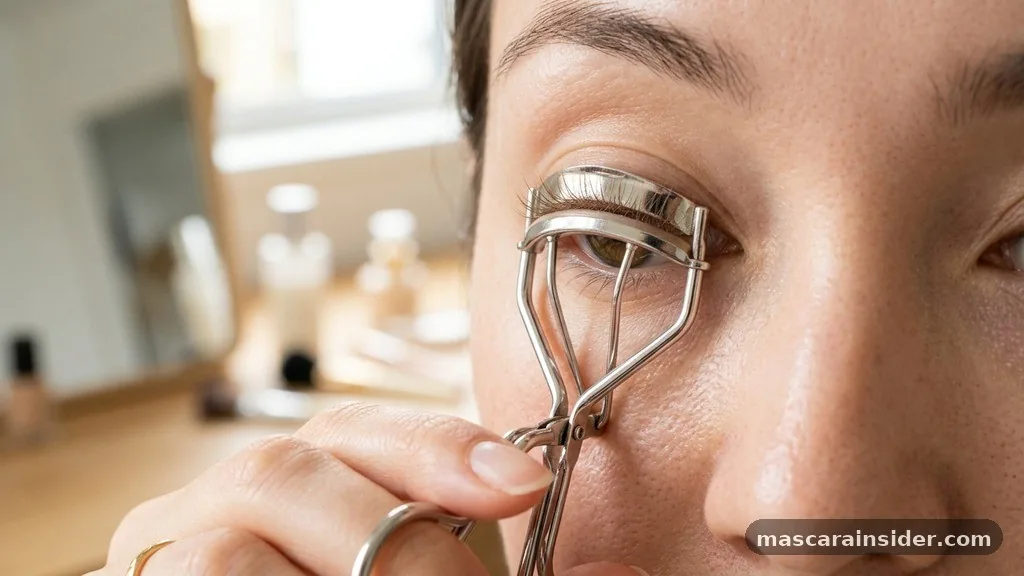
If you want to achieve a wide-eyed, lifted effect, utilizing an eyelash curler is an essential step. Position the curler as close to the lash base as possible without pinching your skin, and gently squeeze for about ten seconds. This creates a foundational lift that makes the subsequent application of product much more impactful.
Many people skip this step, but it is the secret to making your eyes appear more open and awake. Always curl your lashes before applying any product, as curling after the formula has dried can cause the lashes to break or snap under the pressure of the metal tool.
Mastering the Root-to-Tip Application Technique
The most common mistake people make is only coating the tips of their lashes, which can weigh them down and lead to a droopy appearance. Achieving true volume and length requires a dedicated root-to-tip application strategy.
By starting at the very base of your lashes, you deposit the majority of the product where it is needed most to provide structural support. This technique ensures that your lashes stay lifted throughout the day rather than sagging under the weight of the formula.
When you pull the mascara wand out of the tube, avoid pumping it back and forth, as this pushes excess air into the container and causes the product to dry out faster. Instead, gently swirl the wand inside the tube to pick up an even amount of pigment. Place the brush at the roots and use a subtle zig-zag motion as you pull the wand upward.
This side-to-side wiggle separates the lashes, ensuring that each individual hair is coated from all sides. It also helps in preventing clumping by distributing the formula evenly rather than leaving large globs at the base.
Addressing Topical Gaps: Troubleshooting Common Issues
Many beauty enthusiasts struggle with specific challenges that aren’t always addressed in basic tutorials. A common concern is how to deal with stubborn lashes that refuse to hold a curl or how to manage the transition between different mascara formulas.
For instance, if you find that your lashes are naturally sparse, layering is your best friend. Start with a lengthening formula to build the base, and follow up with a volumizing product once the first layer has become slightly tacky.
Another gap in standard advice is the proper care of your tools. A spoolie brush is an underrated asset in your makeup bag. If you do notice minor clumping after applying your second coat, don’t reach for a needle or a sharp object.
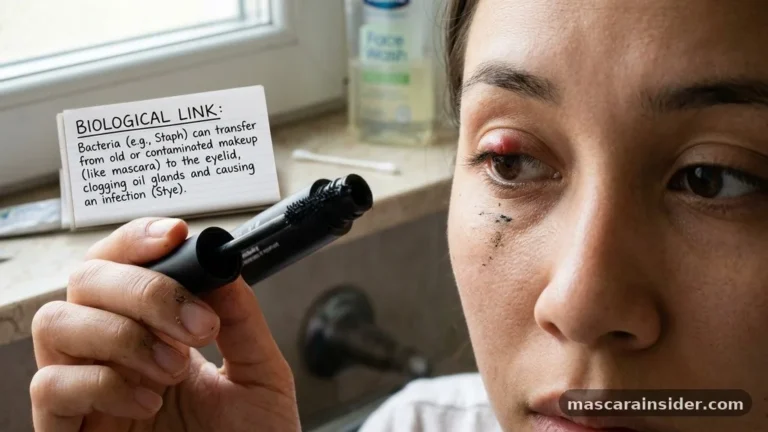
Instead, use a clean spoolie brush to comb through the lashes while the product is still damp. This removes excess formula and perfectly separates the lashes for a fanned-out, professional look. Keeping your tools clean is just as important as the technique itself, as old, crusty mascara buildup on your wand can introduce bacteria and create a messy finish.
Choosing the Right Formula for Your Lifestyle
Not all mascaras are created equal, and your choice should depend on both your desired effect and your daily environment. If you live in a humid climate or have oily skin, a waterproof formula is often the most reliable option.
These formulas are designed to resist moisture and sweat, ensuring that your look stays intact from morning until night. However, waterproof mascara can be difficult to remove and may be harsher on delicate lashes if used every single day.
For those who prioritize ease of removal, a tubing mascara is a fantastic alternative. These formulas wrap each lash in tiny, water-resistant tubes that slide off with warm water rather than dissolving into a messy black smear. If you prefer a more natural look, look for formulas labeled as “defining” or “lengthening” rather than “volumizing,” as these usually have thinner brushes and lighter consistencies.
| Formula Type | Best For | Removal Method |
|---|---|---|
| Volumizing | Thin or sparse lashes | Standard makeup remover |
| Waterproof | Humidity and long wear | Oil-based cleanser |
| Tubing | Sensitive eyes | Warm water |
| Lengthening | Short, straight lashes | Standard makeup remover |
Techniques for the Lower Lash Line
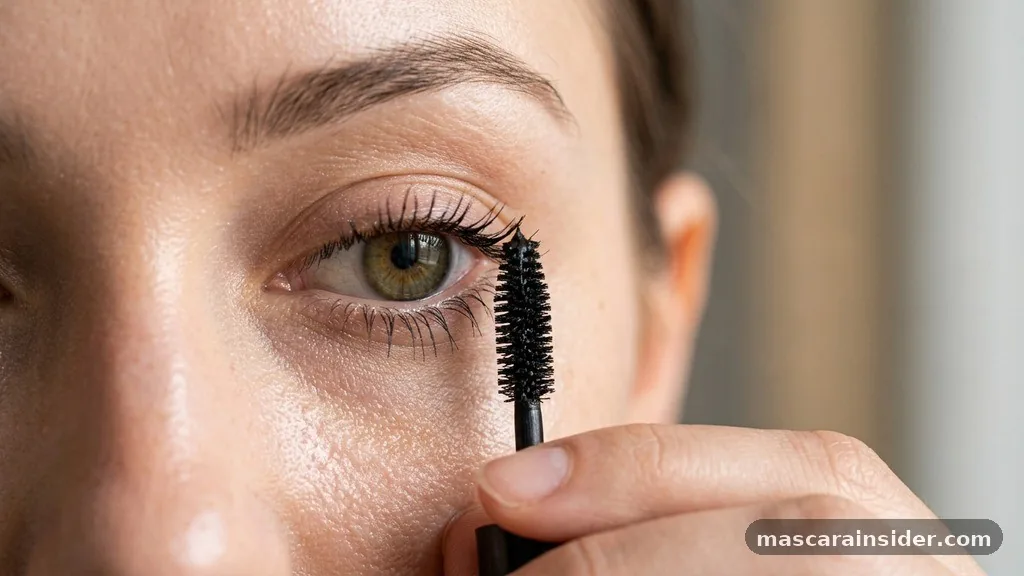
Applying mascara to the lower lash line requires a lighter hand and a different approach to avoid the dreaded “raccoon eye” effect. Because the skin under your eyes is thin and prone to movement, any smudging here is immediately visible.
To minimize the risk of transfer, try holding a small piece of tissue or a clean plastic card behind your lower lashes while you apply the product. This creates a barrier that catches any stray bristles or excess formula.
If you prefer a more subtle look, you don’t need to coat the entire lower lash line. Focus only on the outer corners to create a slight elongation effect that mimics a cat-eye shape.
Alternatively, if you want a more dramatic, doll-like appearance, use the very tip of the wand to apply the mascara vertically. This allows for precise placement on individual lashes, which helps in preventing the heavy, clumpy look that occurs when you drag a fully loaded brush across the entire lower lash set.
Maintaining Lash Health and Hygiene
Your lashes are delicate, and the way you treat them during your makeup routine significantly impacts their long-term health. Avoid the temptation to leave your mascara on overnight, as this causes lashes to become brittle and prone to breakage.
Always use an oil-based cleanser or a dedicated eye makeup remover to break down the formula completely before washing your face. Rubbing your eyes vigorously is a major mistake; instead, soak a cotton pad in your remover, press it gently against your lashes for thirty seconds, and wipe downward in the direction of lash growth.
It is also important to pay attention to the expiration date of your products. Mascara is a breeding ground for bacteria because of the dark, moist environment inside the tube. As a general rule of thumb, you should replace your mascara every three months.
If you notice a change in the smell or texture of the product, or if your eyes feel irritated after application, stop using it immediately. Prioritizing hygiene ensures that your beauty routine remains safe and effective.
Advanced Tips for Perfect Separation
Even with the best products, some people struggle with lashes that stick together. If you want to achieve that coveted “fanned out” look, an eyelash comb is the most effective tool in your kit.
Unlike a spoolie, which is great for blending, a metal-toothed eyelash comb is designed to physically separate stubborn clumps that have already set. Use it immediately after your final coat while the mascara is still slightly pliable for the best results.
Another trick involves the angle of the wand. Instead of holding the wand horizontally for the entire application, try turning it vertically when you reach the inner and outer corners of your eyes.
This allows you to catch the tiny, hard-to-reach lashes that a standard horizontal swipe often misses. By using the tip of the wand, you can add definition and length to these smaller hairs, which makes the entire lash line look fuller and more cohesive.
Common Mistakes to Avoid During Application
Many beginners fall into traps that hinder their progress. One common error is applying too many layers without letting the previous coat dry. This leads to heavy, sagging lashes that lose their curl within minutes.
Always wait about thirty seconds between coats to allow the formula to set. If you apply a second coat while the first is still wet, you are essentially just moving the product around rather than building volume.
Another mistake is neglecting the waterline area. While you shouldn’t apply mascara directly to the waterline, being mindful of how close you get is key. Getting product on the skin of the eyelid or the waterline itself will almost always lead to smudging.
If you do make a mistake, do not try to wipe it off immediately while it is wet, as this will only smear the pigment across your skin. Wait for the mascara to dry completely, and then use a clean, dry Q-tip to gently flick the dried flake away. It will come off cleanly without ruining your eyeshadow or foundation.
The Role of Mascara in Your Overall Makeup Look
Mascara acts as the frame for your eyes, and its importance in a cohesive makeup look cannot be overstated. If you are going for a “no-makeup” makeup look, a thin, defining coat of brown or black mascara can make your eyes look brighter without appearing heavy. Conversely, for an evening look, multiple layers of a high-volume, jet-black formula can replace the need for heavy eyeliner.
Understanding how to balance your mascara with other eye products is also key. If you are wearing bold eyeshadow, you might want to opt for a more dramatic, lengthening mascara to ensure your lashes don’t disappear into the pigment. If you are keeping your eye makeup simple, you have more freedom to experiment with volume and texture.
Ultimately, the best way to apply mascara is the way that makes you feel most confident. Practice different techniques, experiment with different wand shapes, and find the combination that works best for your unique eye shape and lash type.
Frequently Asked Questions
Should an older woman wear mascara on bottom lashes?
Yes, it can open the eyes, but use a light hand to avoid emphasizing fine lines underneath.
How many layers of mascara should you wear?
Two coats are usually sufficient; more than three can lead to clumping and heavy, weighed-down lash looks.
How to apply mascara so it doesn’t clump?
Use a zig-zag motion, avoid pumping the wand, and comb through with a spoolie while still wet.
Should mascara be applied first or last?
Apply mascara last, after eyeshadow and eyeliner, to prevent powder from settling on your freshly coated lashes.
Does waterproof mascara damage lashes?
It can be drying; ensure you use a gentle oil-based cleanser to remove it without pulling lashes.
How do I prevent mascara from smudging on my brow bone?
Use a waterproof formula or set your eyelids with a translucent powder to reduce oil and transfer.
Can I use an eyelash curler after applying mascara?
No, this causes lashes to stick to the curler, leading to breakage and potential lash loss immediately.
By consistently applying these techniques, you will find that your lashes look healthier, longer, and more defined. Remember that practice is essential; the more you refine your application, the more natural and effortless the process will become. Don’t be afraid to try different formulas or tools until you discover the perfect combination for your specific needs.
Keeping your tools clean and replacing your products regularly will ensure that every application is as effective as the first. We hope you feel more confident in your ability to enhance your look, so feel free to share your own favorite tips or any questions you have in the comments below.