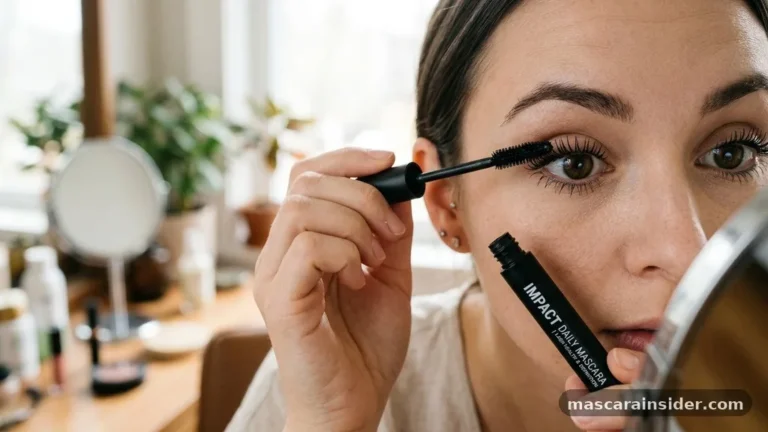

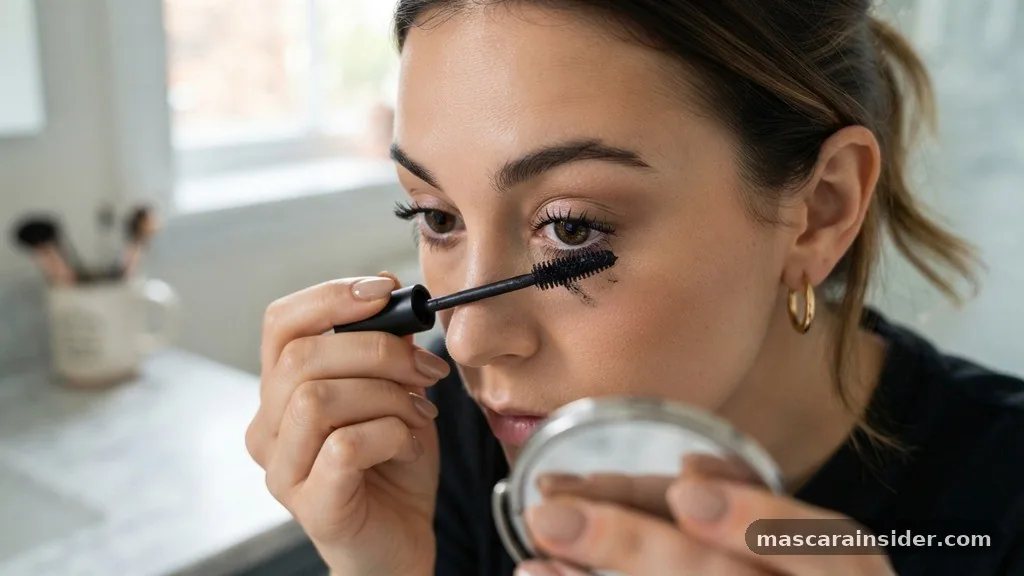
Learning how to put mascara on bottom lashes effectively can transform your look by adding balance and depth to your eyes. While many people focus exclusively on their top lashes, incorporating the lower fringe creates a more polished, wide-eyed aesthetic that frames the face beautifully. It is a simple technique, yet it requires a bit of patience to avoid the common pitfalls of smudging or clumping.
By choosing the right tools and mastering a few precise movements, you can achieve a professional finish that stays in place all day. This approach ensures your eye makeup application remains crisp and defined without causing unwanted pigment transfer onto your skin.
Why Focus on Your Lower Lash Line
Defining your lower lashes serves as a natural anchor for your entire eye look. When you apply color to the lower lash line, you visually balance the intensity of your upper lids, which prevents your eyes from looking bottom-heavy or tired. This step is particularly effective for those with smaller eyes, as it creates the illusion of a more open, alert expression.
Many people skip this step because they fear the dreaded raccoon-eye effect. However, when you understand the mechanics of lash definition, you can enhance your features without sacrificing cleanliness. The key lies in the control you exert over the mascara wand and the specific formula you select for this delicate area.
Essential Tools for Precision Application
You do not need an entire kit of professional products to get a clean result, but having the right tools makes a significant difference. Using the standard oversized brush that comes with most mascaras often leads to mistakes because it lacks the precision needed for shorter, sparser lower hairs.
- Micro-mascara wands: These slim brushes are designed specifically for reaching tiny lashes at the inner corners.
- Spoolie brush: A clean, dry spoolie helps separate clumped lashes and removes excess product.
- Small guard or spoon: Holding a plastic guard behind the lashes prevents the brush from hitting your skin.
- Waterproof formula: Using a water-resistant option is the best way to prevent smudging throughout the day.
Step-by-Step Technique for Bottom Lash Mascara
The secret to a mess-free look is limiting the amount of product that touches your skin. You should start by wiping your applicator on a tissue to remove excess globs before bringing it near your face.
The Vertical Hold Method
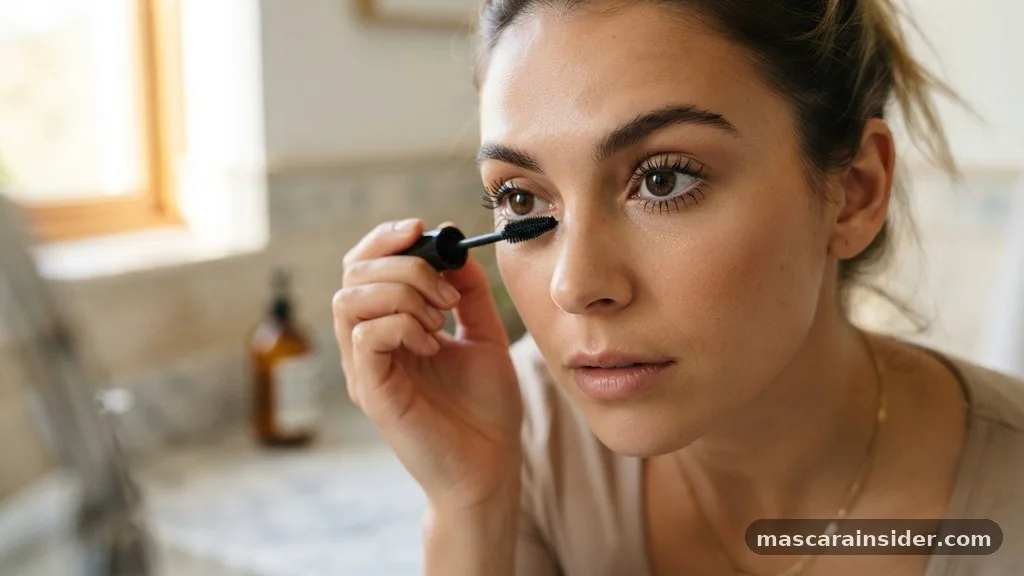
Hold your mascara wand vertically rather than horizontally. This allows the very tip of the brush to coat each individual lash without the bulky sides of the brush bumping against your under-eye area. Gently sweep the tip across the roots and wiggle it outward to ensure even coverage.
Using a Protective Shield
If you struggle with steady hands, place a small, clean spoon or a business card against your skin, just under the lashes. This acts as a barrier, catching any stray droplets of formula. It allows you to press the wand firmly into the roots of your lashes without worrying about staining your concealer or foundation.
Managing Clumping and Excess Pigment
If you notice your lashes sticking together, immediately run a clean spoolie brush through them while the mascara is still wet. This combs through the fibers, distributing the pigment evenly and softening the look for a more natural finish. If you prefer a lighter touch, you can even use the leftover residue on the wand after finishing your top lashes rather than dipping back into the tube.
Choosing the Right Formula for Your Needs
Not all products perform the same way, and the texture of the liquid matters greatly for your lower lashes. A formula that works well on thick, voluminous top lashes might be too heavy or prone to flaking on the lower lid.
| Formula Type | Best For | Key Characteristic |
|---|---|---|
| Tubing Mascara | Sensitive eyes | Wraps individual lashes; resists smudging |
| Waterproof | High humidity | Locks in place; requires oil-based remover |
| Lengthening | Short, sparse lashes | Lightweight; focuses on defining individual hairs |
Addressing Common Topical Gaps
There are specific challenges regarding the lower lash area that many standard tutorials overlook. Understanding these nuances will help you troubleshoot issues as they arise during your morning routine.
Dealing with Deep-Set or Hooded Eyes
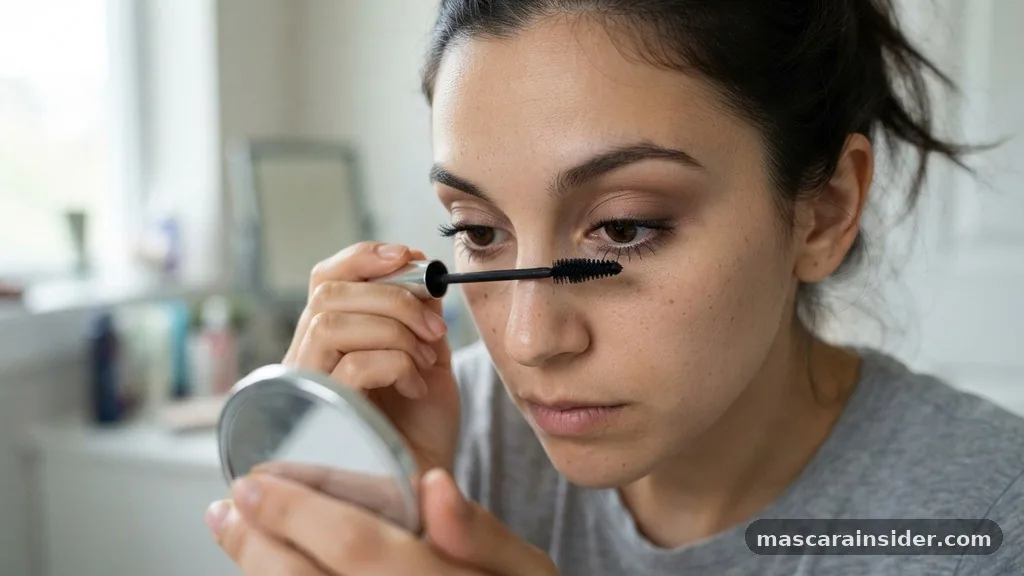
If you have hooded eyes, the distance between your lower lashes and your cheekbone is often smaller. This increases the likelihood of pigment transfer when you smile or blink. In this case, focus the application only on the outer two-thirds of the lower lash line. Leaving the inner corner bare keeps the look clean and prevents the “closed-in” feeling that heavy makeup can sometimes cause.
The Impact of Eye Shape on Style
Your eye shape dictates where the mascara should be heaviest. For round eyes, applying more product to the center of the lower lash line enhances the wide-eyed effect. If you have almond-shaped eyes, concentrating the pigment on the outer corners helps elongate the eye, providing a subtle cat-eye appearance that remains soft and wearable for daily life.
Preventing the Waterline Transfer
Many people accidentally touch their waterline while applying product, which inevitably leads to smearing. Always look slightly upward into your mirror while applying. This stretches the skin under your eye, pulling the lashes away from the delicate moist tissue of the waterline and giving you a clear path for the brush.
Troubleshooting Smudges After Application
Even with the best preparation, accidents happen. If you find a smudge, do not attempt to wipe it away immediately. Wetting the skin will only smear the pigment further into your pores.
Instead, wait for the formula to dry completely. Once it is solid, a clean, dry Q-tip or a spoolie can flick the flake of mascara off the skin without ruining your base makeup. This is a pro trick used by many a makeup artist to keep the under-eye area looking pristine.
Maintaining Longevity Throughout the Day
If you find that your mascara still migrates by midday, you might need to change your prep routine. Sometimes, the oils in your eye cream or concealer break down the mascara formula. Try applying a tiny amount of translucent setting powder just beneath your lower lashes before you start your eye makeup.
This creates a dry, matte surface that prevents the product from grabbing onto oils and migrating downward. Additionally, ensuring your lashes are completely clean of any residual oils from face washes or serums before you begin will help the product adhere better to the hair itself.
FAQ: Common Questions
Is it necessary to put mascara on the bottom lashes?
It is not mandatory, but it helps balance your eye makeup, creating a more finished and intentional appearance.
How do I prevent bottom mascara from smudging?
Use a waterproof formula and always wipe excess product off the wand before applying to your lashes.
Does bottom lash mascara make eyes look bigger?
Yes, adding definition to the lower lash line draws attention to the eye area, making it appear wider.
What if I get mascara on my skin?
Wait until the product dries completely, then gently flick it off with a dry, clean spoolie brush.
Can I use a regular wand for bottom lashes?
You can, but a smaller or tapered wand provides better precision and reduces the chance of accidental smudging.
Should I use tubing mascara for the bottom?
Yes, tubing mascara is excellent for lower lashes because it resists smudging and is easier to remove safely.
How often should I replace my mascara?
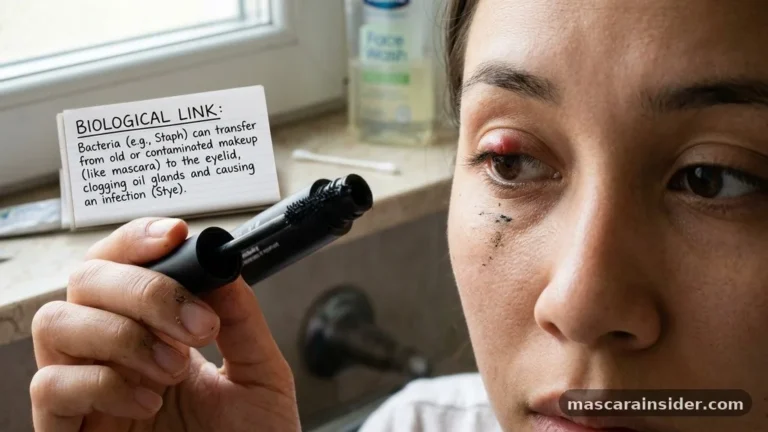
Replace your mascara every three months to prevent bacterial growth and ensure the formula remains fresh and effective.
Final Thoughts on Lower Lash Definition
Mastering the art of putting mascara on bottom lashes is a subtle change that yields significant results for your overall aesthetic. By selecting the right tools, adjusting your application angle, and focusing on longevity, you can enjoy defined, expressive eyes without the frustration of smudging. Remember that less is often more when it comes to the lower lash line; a light, feathered application typically looks more sophisticated than a heavy coat.
Experiment with different techniques to see what best complements your unique eye shape. If you have found these tips helpful, try incorporating them into your next routine and see how much more polished your makeup looks with that extra touch of attention to your lower lashes.