
Deciding whether you should curl lashes before or after mascara is a common dilemma that often leads to damaged hairs or lackluster results. While many enthusiasts swear by their own methods, there is a clear consensus among beauty professionals regarding the safest and most effective way to enhance your gaze.
Mastering the correct sequence ensures you achieve a dramatic, lifted look while maintaining the long-term integrity of your delicate lash follicles. Understanding the mechanics behind this simple step will transform your daily eye makeup routine and help you avoid the common pitfalls that lead to brittle, broken, or uneven lashes.
Why Curling Before Mascara Is the Industry Standard
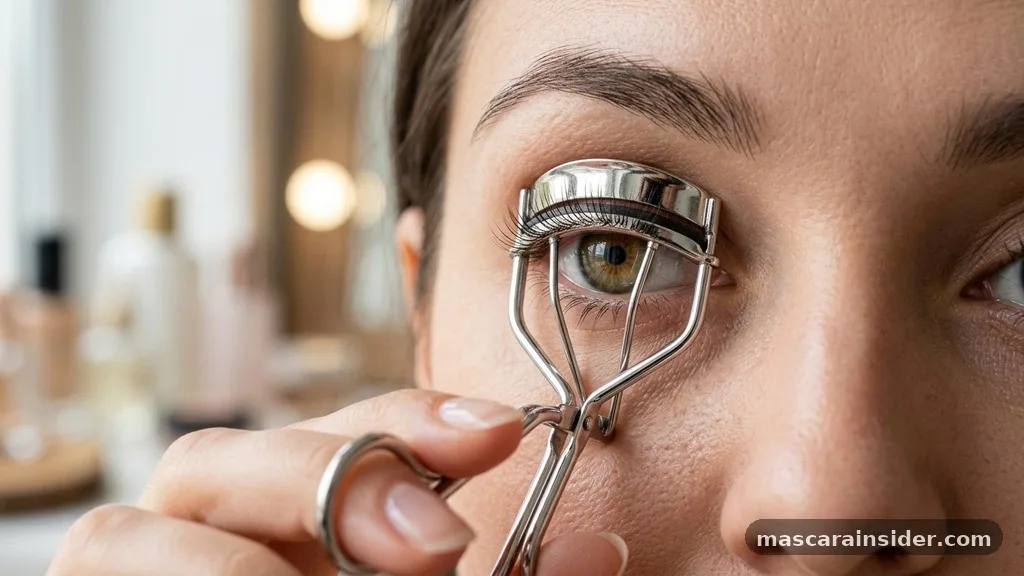
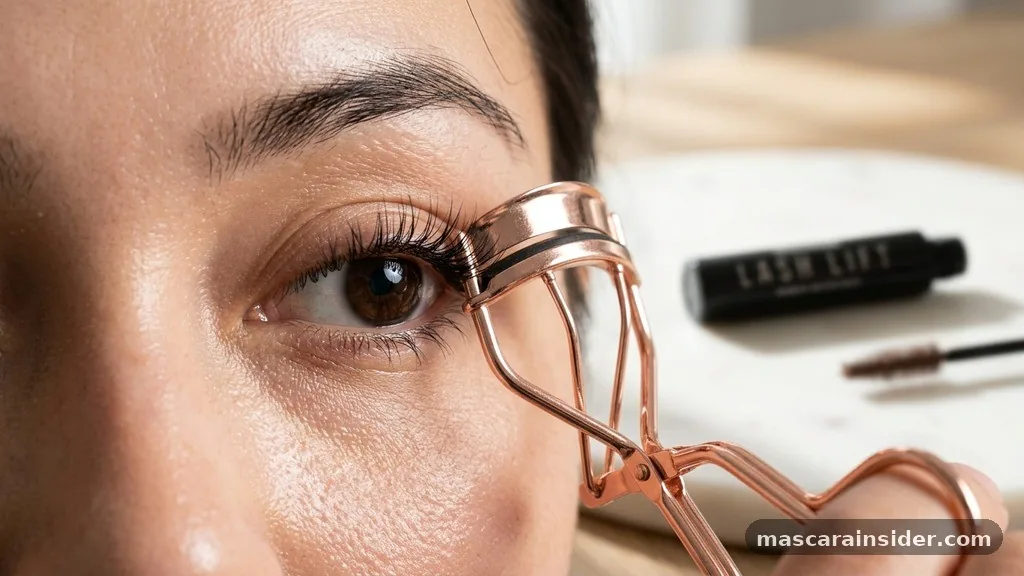
The most effective way to achieve a perfect, long-lasting lift is to use your eyelash curler on clean, bare lashes. When you apply pressure to your lashes before adding product, the tool grips the hair directly, allowing for a precise, uniform bend. This method is widely recommended by makeup artists because it prevents the physical damage that occurs when you try to manipulate lashes that are already weighed down by pigment.
When you curl after applying product, you introduce a significant risk of lash breakage. Mascara formulas, especially those designed for volume or length, harden as they dry.
By clamping a metal tool onto stiff, coated lashes, you are essentially creating a stress point that can snap the hair mid-shaft. Furthermore, the sticky nature of wet mascara often causes lashes to adhere to the silicone pad of the curler, which can lead to accidental pulling or tugging when you release the grip.
The Risks of Curling After Mascara Application
While some people feel that a second curl after product application adds extra drama, the potential downsides often outweigh the aesthetic benefits. Beyond the structural danger to your lashes, the mechanical process can ruin the hard work you put into your mascara application.
* Product transfer: Your curler will likely pick up wet pigment, leaving unsightly gaps in your lash line.
* Clumping: The pressure can force individual lashes to stick together, destroying the goal of clump-free lashes.
* Smudging: Even if you use waterproof mascara, the force of the clamp can cause the product to transfer onto your eyelids or the tool itself.
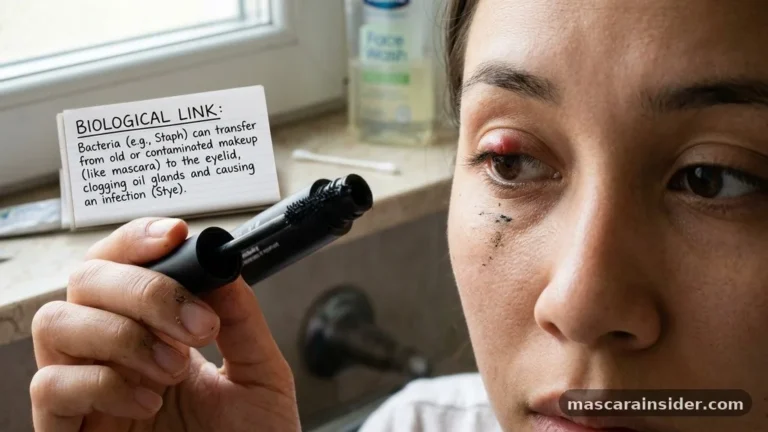
* Hygiene concerns: A dirty curler that collects layers of old product becomes a breeding ground for bacteria, which could lead to eye infections.
Comparing Curling Techniques and Tools
Understanding the different tools at your disposal is just as important as knowing the sequence. The type of curler you choose can drastically change your results.
| Tool Type | Primary Benefit | Risk Factor |
|---|---|---|
| Mechanical Curler | High control and precision | Potential for breakage if used on coated lashes |
| Heated Eyelash Curler | Long-lasting, dramatic lift | Heat damage if temperature is too high |
| Mini/Detail Curler | Targets inner/outer corners | Requires steady hands to avoid pinching |
A mechanical curler is the gold standard for daily use, provided it is used on bare lashes. If you struggle to maintain a curl throughout the day, a heated eyelash curler can be a great addition to your routine.
These tools gently warm the lashes, helping them hold their shape without the need for excessive physical pressure. However, always use these on clean lashes to avoid melting the wax found in many mascara formulas.
Protecting Your Lash Health
Maintaining the strength of your lashes should be the top priority in your beauty regimen. Frequent, aggressive curling is one of the most common causes of premature lash loss. If you find your lashes look thin or sparse, you might be over-processing them with the curler or pulling too hard at the base.
Always check the silicone pad on your curler regularly. If the rubber is cracked, flat, or missing, it will leave a sharp metal edge exposed.
This metal edge can act like a pair of scissors, cutting your lashes instead of curling them. Replacing these pads every three months is a simple, low-cost way to ensure your lash health is never compromised.
Addressing Common Misconceptions and Topical Gaps
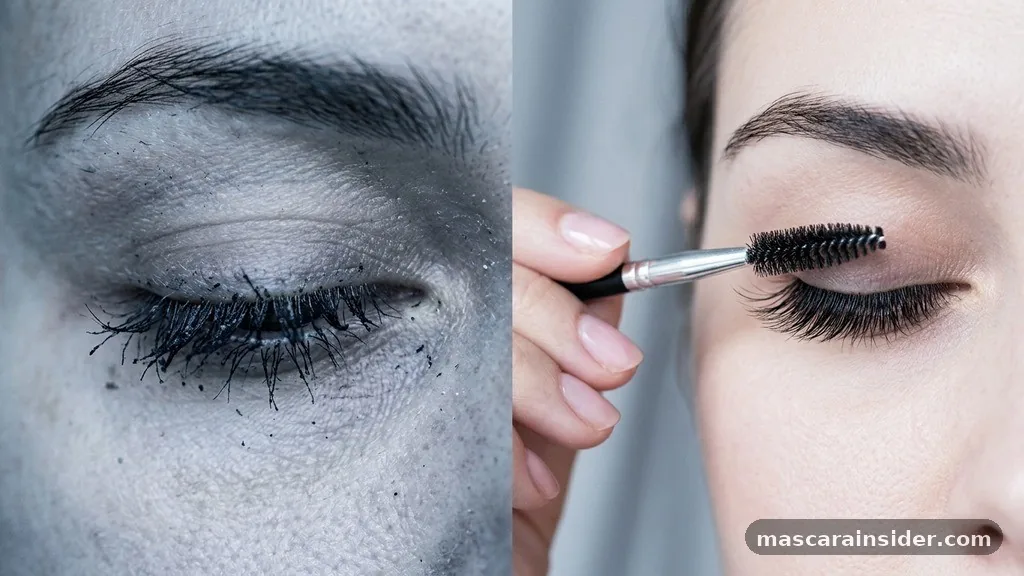
There is a persistent myth that curling after mascara makes the curl “set” better. This is largely a misunderstanding of how cosmetic chemistry works. While it might seem like the mascara holds the shape, it is actually just holding the hair in a static, brittle position that is highly susceptible to breakage.
Another common question involves the use of false lashes. If you are using lash adhesive and falsies, you should always curl your natural lashes before application.
Curling after applying false lashes can pull the adhesive away from your lash line, causing the inner or outer corners to lift prematurely. By curling first, you ensure your natural lashes blend seamlessly with the falsies, creating a natural curl that looks cohesive rather than disjointed.
How to Achieve the Perfect Lift Every Time
To get the most out of your tools, follow a systematic approach that prioritizes longevity and safety. Start by positioning the curler at the very base of your lashes, as close to the eyelid as possible without pinching the skin.
Hold for five to ten seconds, then pulse the curler gently as you move toward the tips. This “pulsing” motion creates a natural-looking curve rather than a harsh, ninety-degree angle.
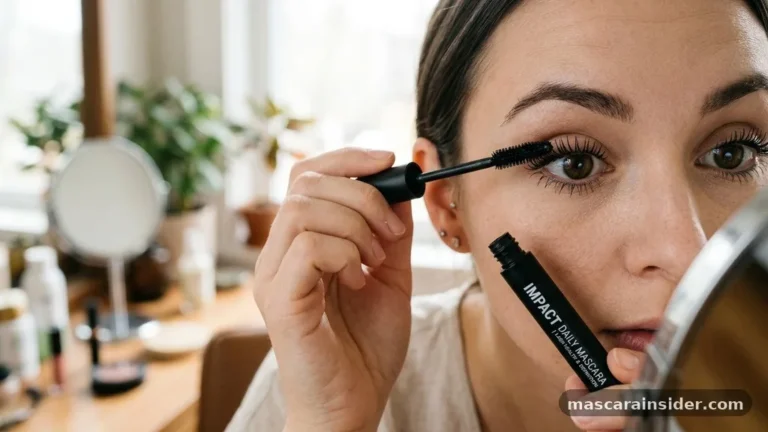
After you have achieved the desired shape, follow up immediately with your mascara. If you want extra lash definition, use a wiggle motion at the roots to deposit more product where it matters most, then sweep upward toward the ends. This technique provides the structural support needed to keep the lashes lifted without needing to re-curl them later in the day.
Integrating Curling into Your Routine
Your eye makeup routine should always flow logically to protect your results. If you are using an eyelash primer, apply it after curling but before your mascara. Primers often contain conditioning agents that help coat the hair and provide a smooth base for your pigment.
If you find that your lashes tend to droop despite your best efforts, you might consider a professional lash lift. This chemical treatment semi-permanently curls the hair, eliminating the need for a daily curler. A lash lift is an excellent alternative for those with naturally pin-straight lashes who find that traditional mechanical tools just don’t provide the staying power they need.
FAQ: Common Queries Answered
Is it ever safe to curl lashes after mascara?
No, it is never recommended, as it causes significant lash breakage and ruins your makeup application.
Can a heated eyelash curler be used on mascara-coated lashes?
Avoid this, as heat can melt mascara waxes, leading to clumping, smudging, and potential damage to lash fibers.
How often should I replace my eyelash curler pad?
Replace the silicone or rubber pad every three months to ensure it remains soft and safe for lashes.
Does curling lashes damage them if done correctly?
When performed on clean lashes with a well-maintained tool, curling is generally safe and causes minimal stress.
What is the best way to keep lashes curled all day?
Use a waterproof mascara formula, as it is lighter and better at holding a curl than standard versions.
Should I curl my lower lashes?
It is generally unnecessary and risky; lower lashes are delicate and the curler can easily pinch the skin.
How do I know if my eyelash curler is the right shape?
The curler should span your entire lash line; if it misses corners, try a flatter or more curved design.
Refining Your Approach to Lash Care
Learning the nuance of when to manipulate your lashes is a small change that yields big results. By consistently curling before applying any product, you protect the structural integrity of your lashes while ensuring your mascara application remains clean and professional. Whether you rely on a classic mechanical tool or prefer the added longevity of a heated device, the golden rule remains the same: treat your lashes with care by avoiding the curler once the pigment is on.
If you have been struggling with breakage or clumpy, uneven lashes, make the switch to this sequence tomorrow morning. You will likely notice that your lashes look healthier, stay lifted longer, and require far less touch-up throughout the day.
Take a moment to inspect your tools for wear and tear, and enjoy the confidence that comes with a perfectly defined, healthy-looking gaze. Feel free to share your own experiences with different tools in the comments below!